
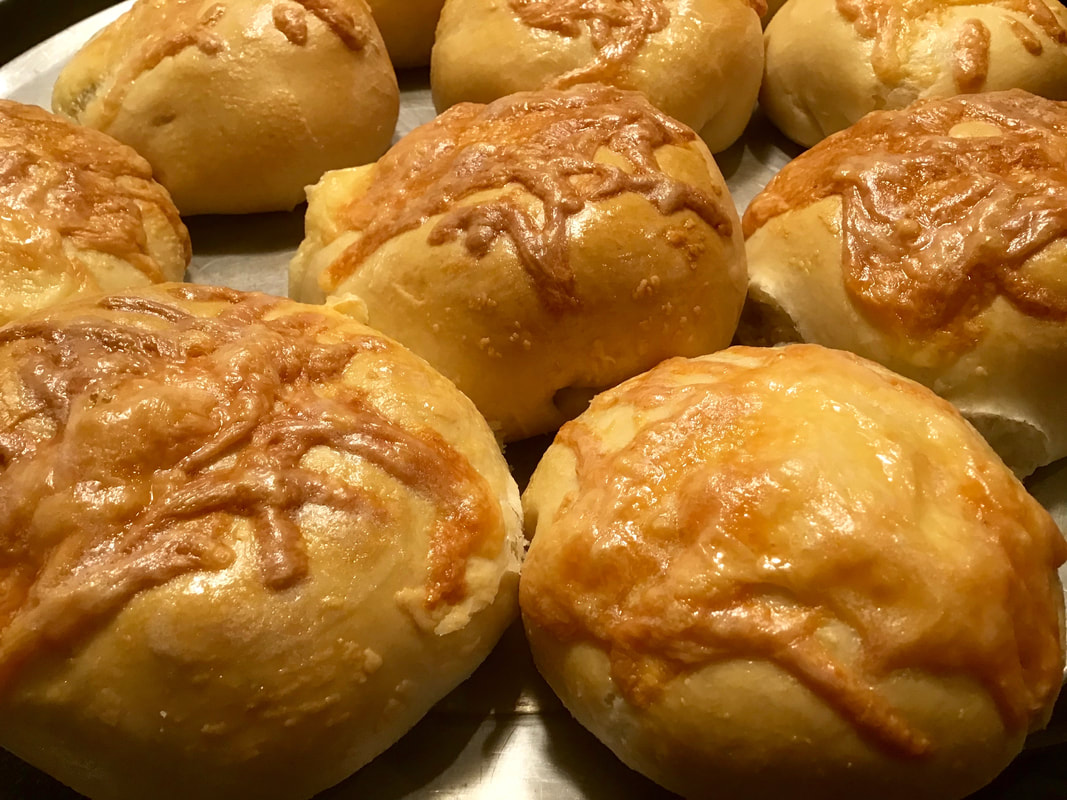
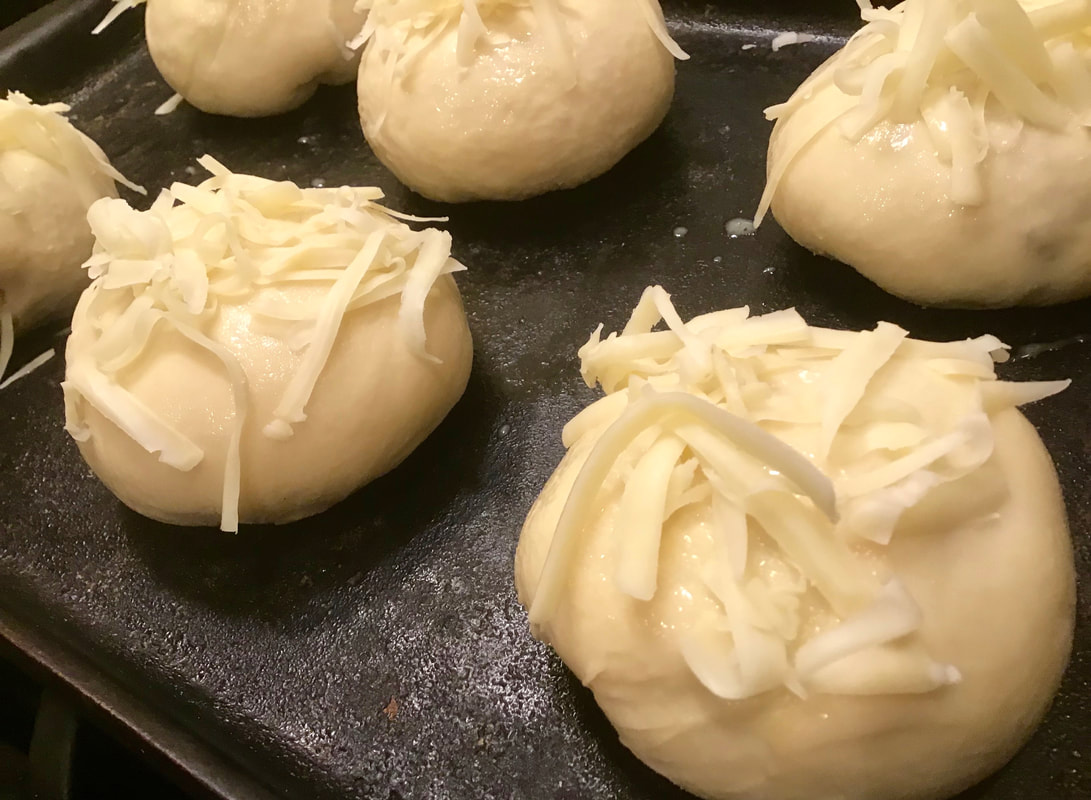
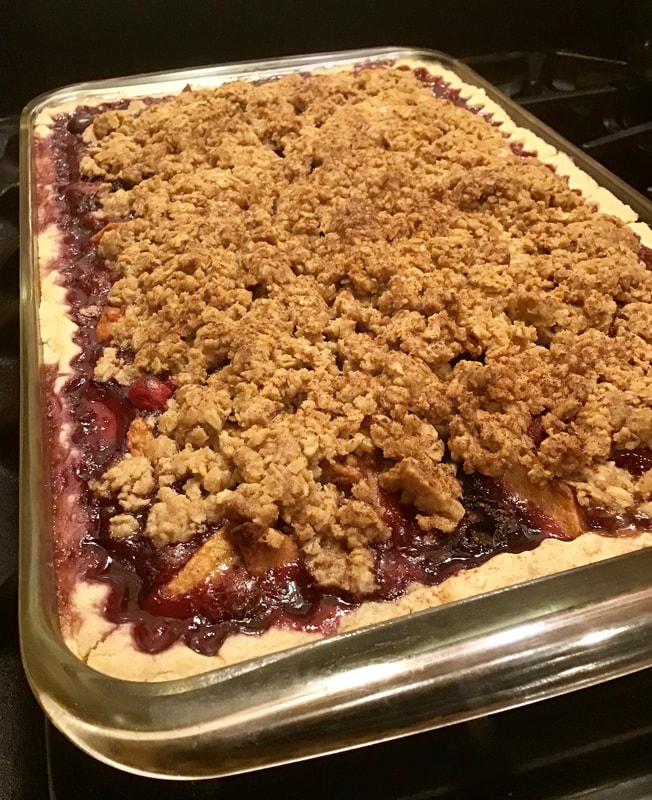
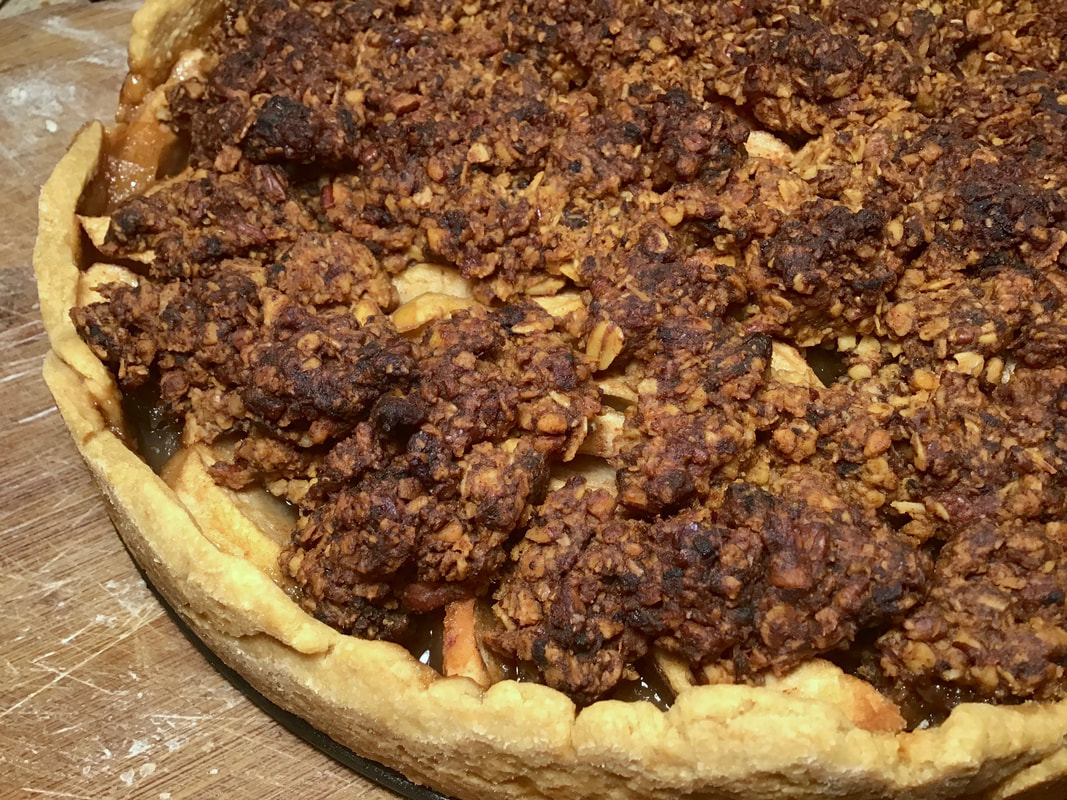
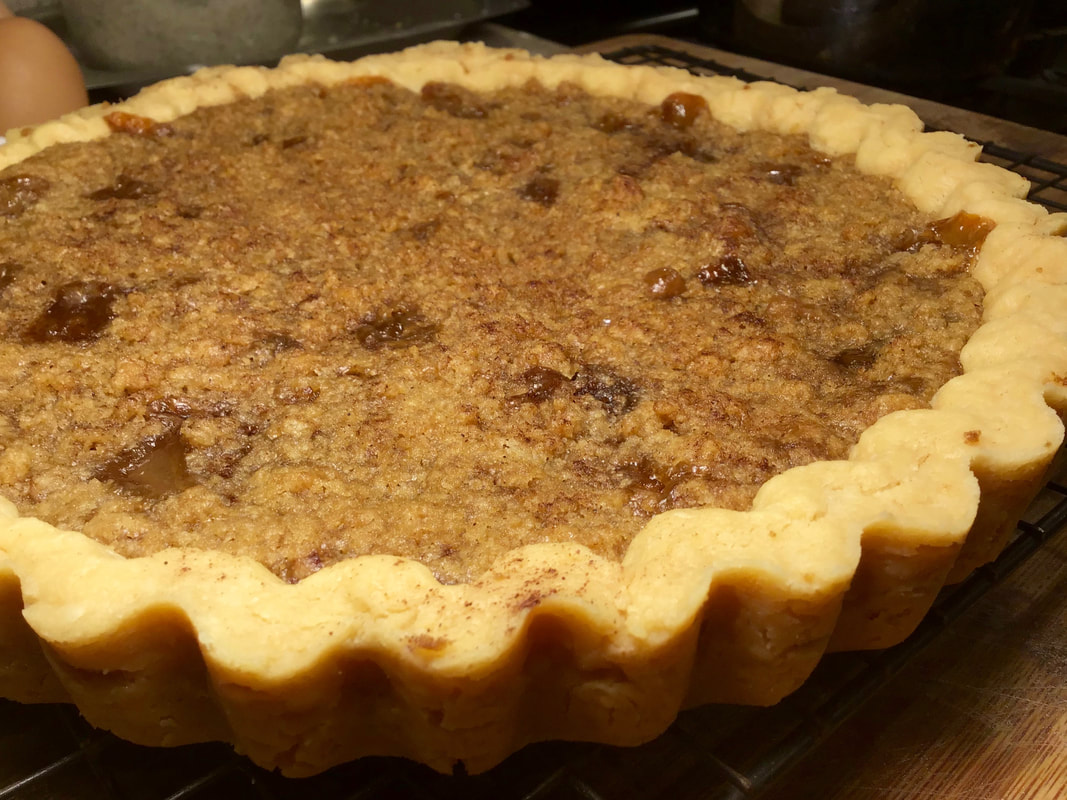
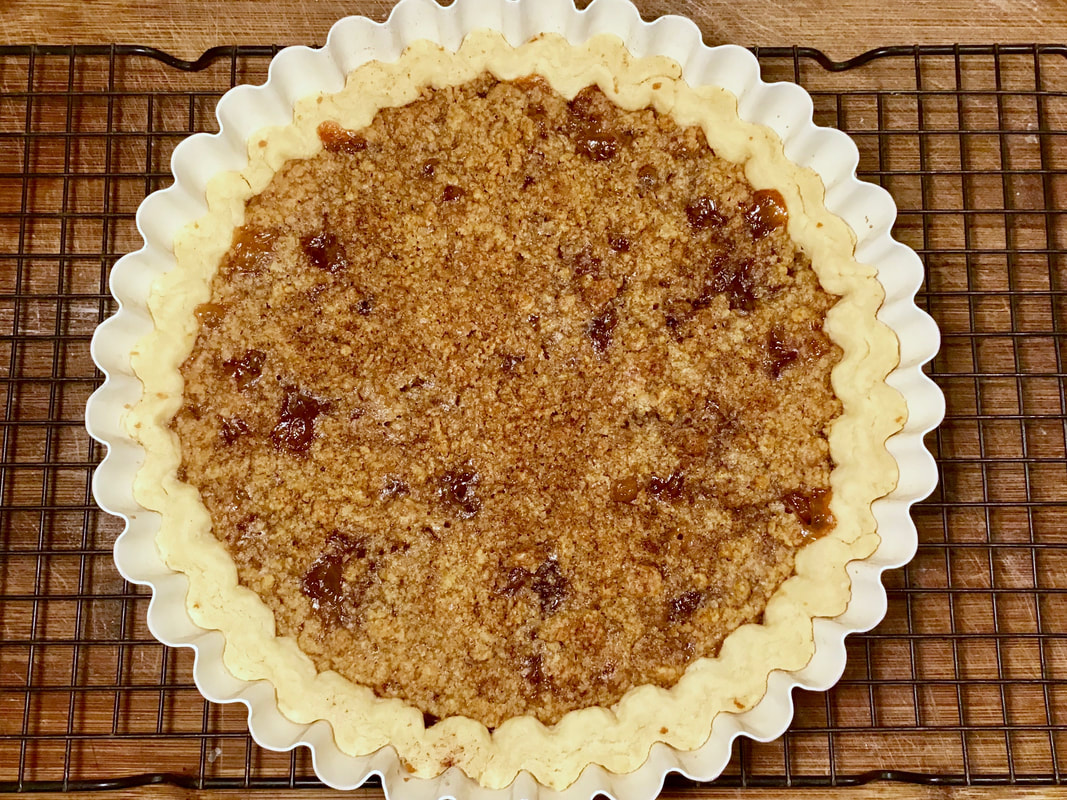
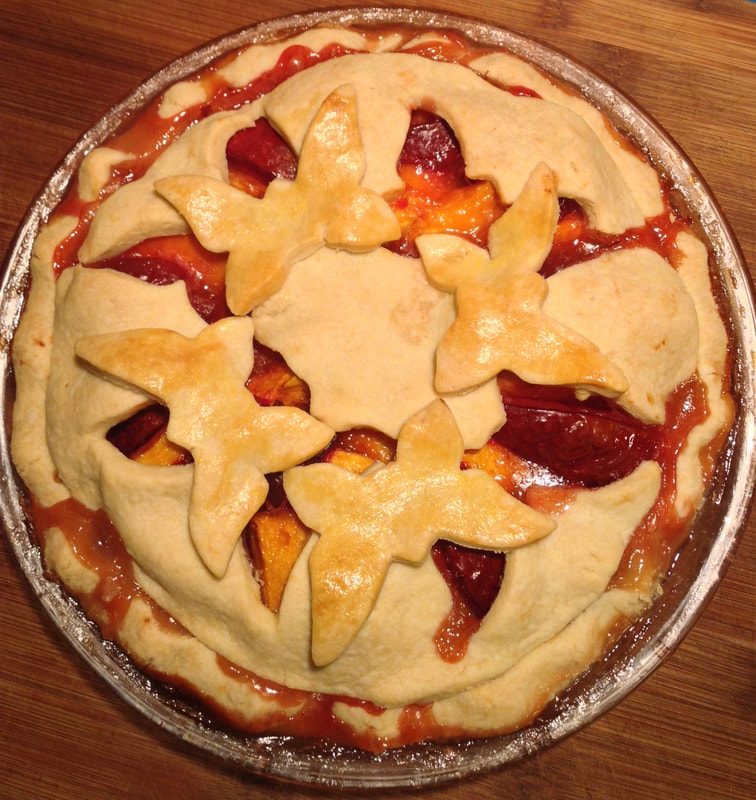
Hot and fresh from the oven!
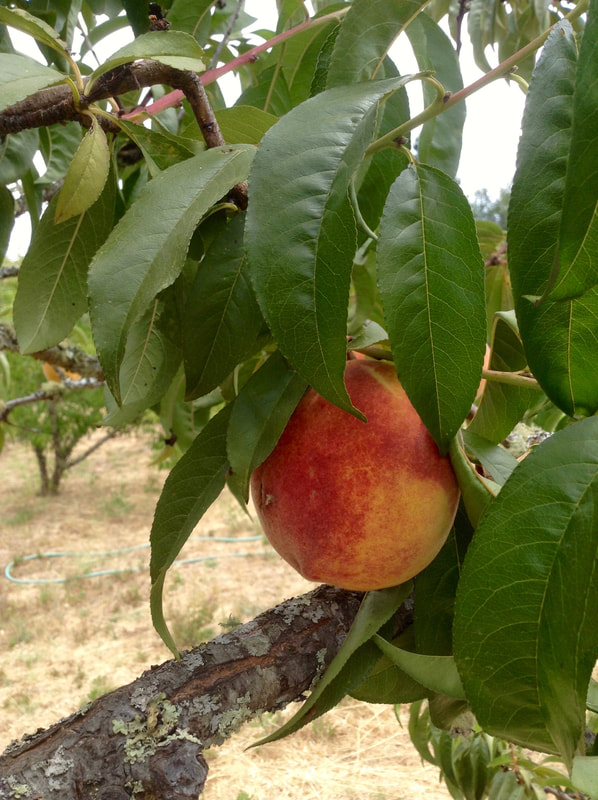
Recently, my wonderful daughter-in-law Lisa brought me some beautiful peaches from a tree in her mother's yard in Santa Rosa. The timing could not have been better! The wild blackberries throughout the neighborhood and all around the Russian River are getting ripe and ready to pick!
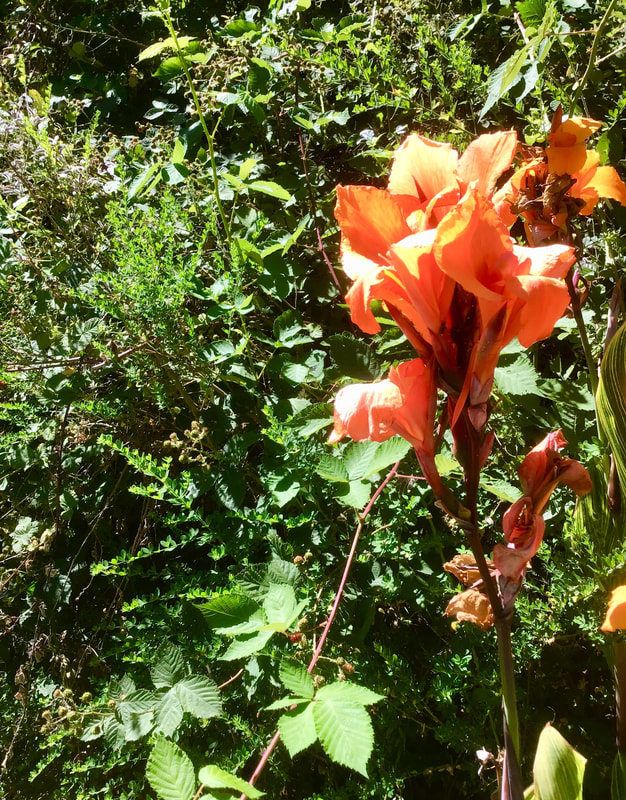 | 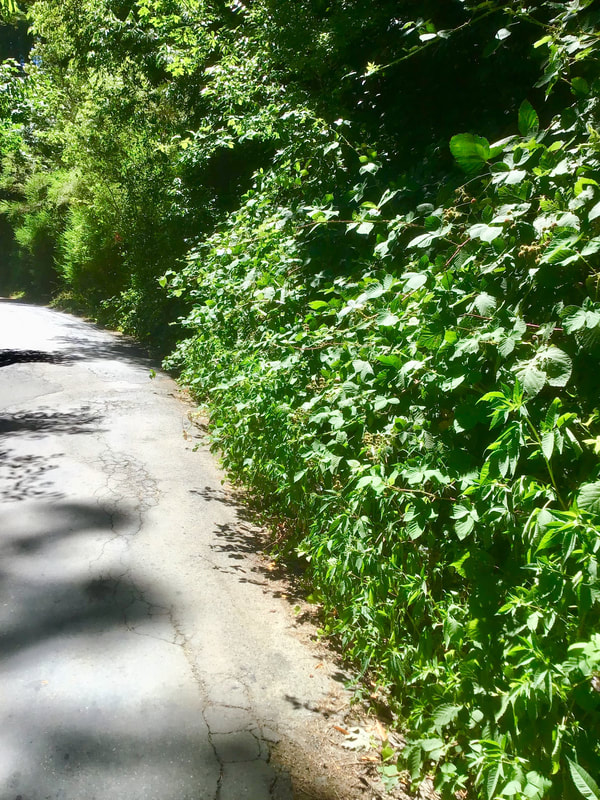 |
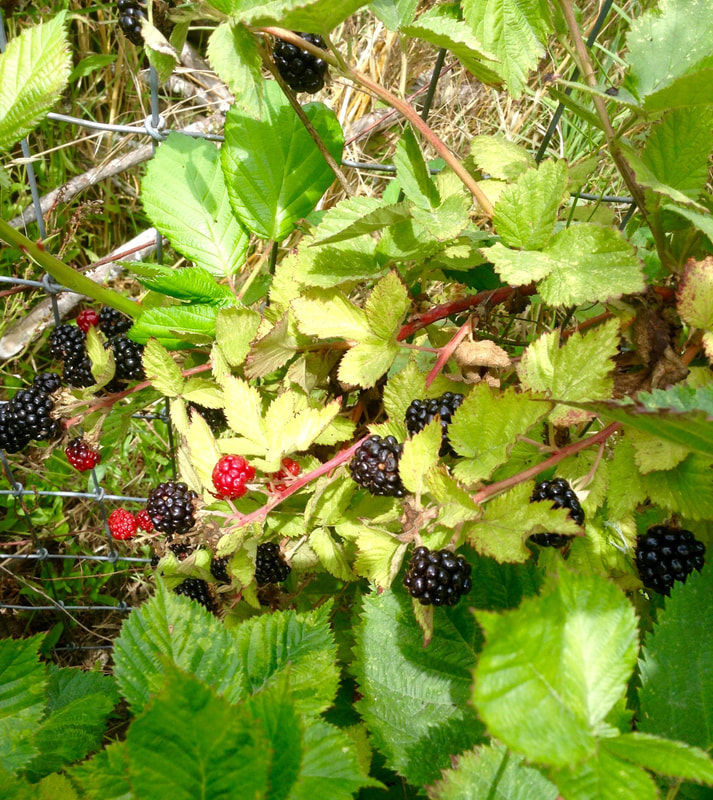
Time for a walk...
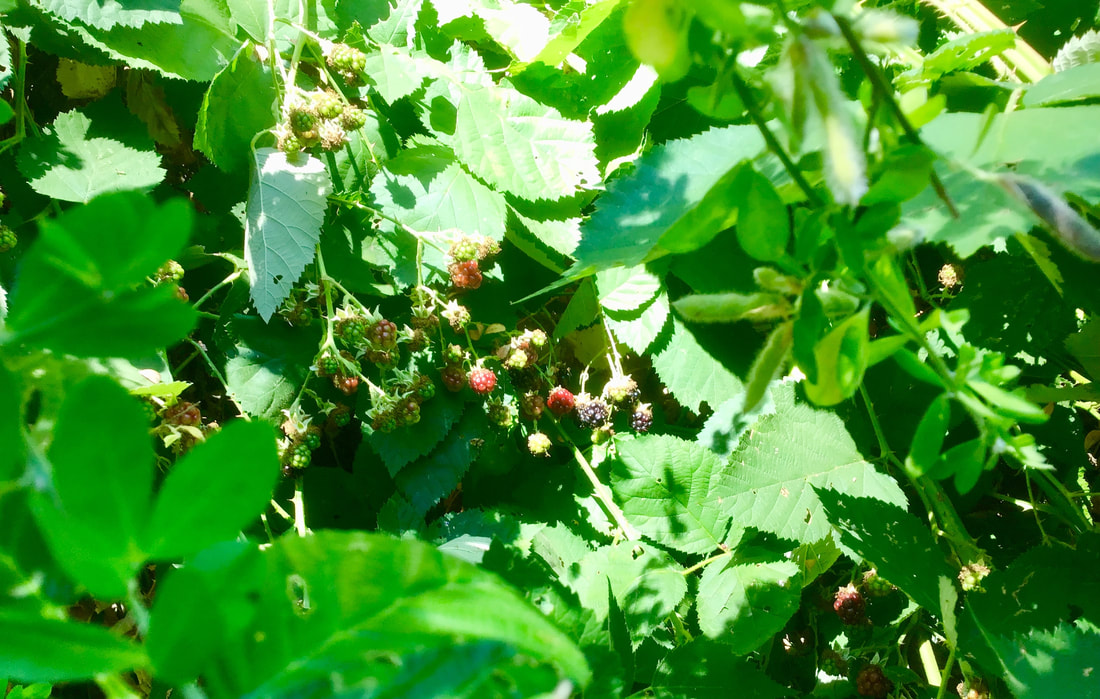
The sweet berries always seem to be buried amongst the thorns...
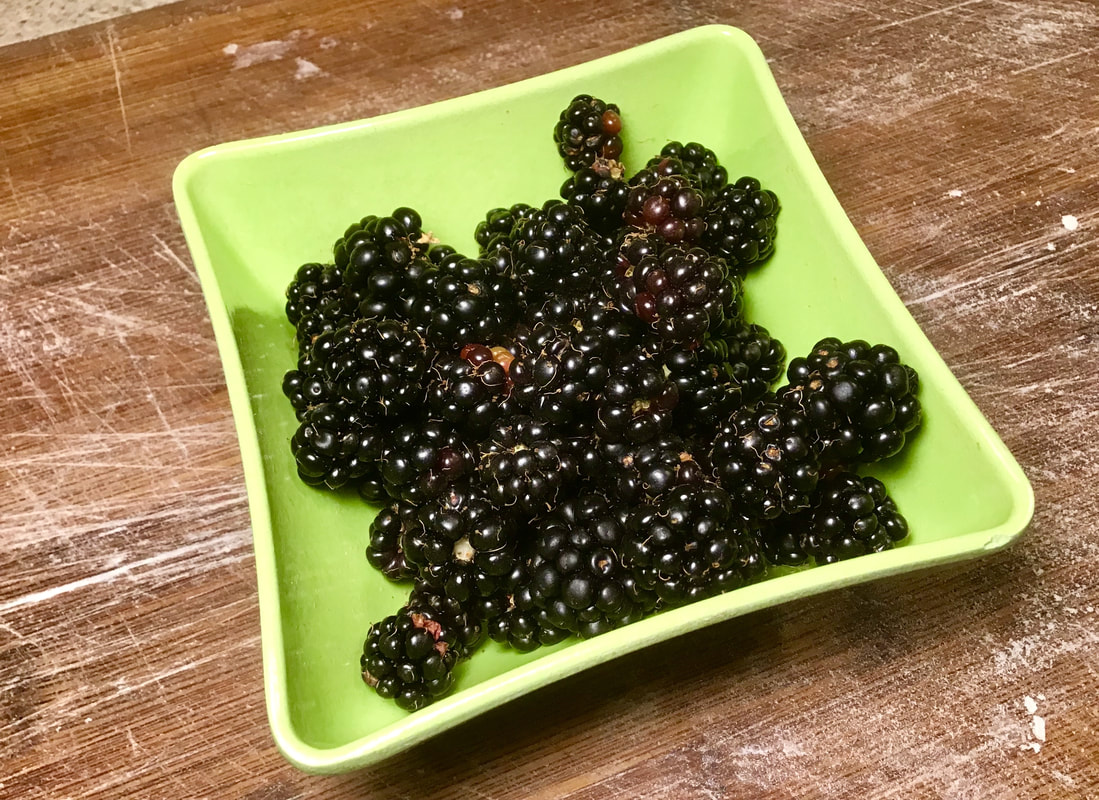
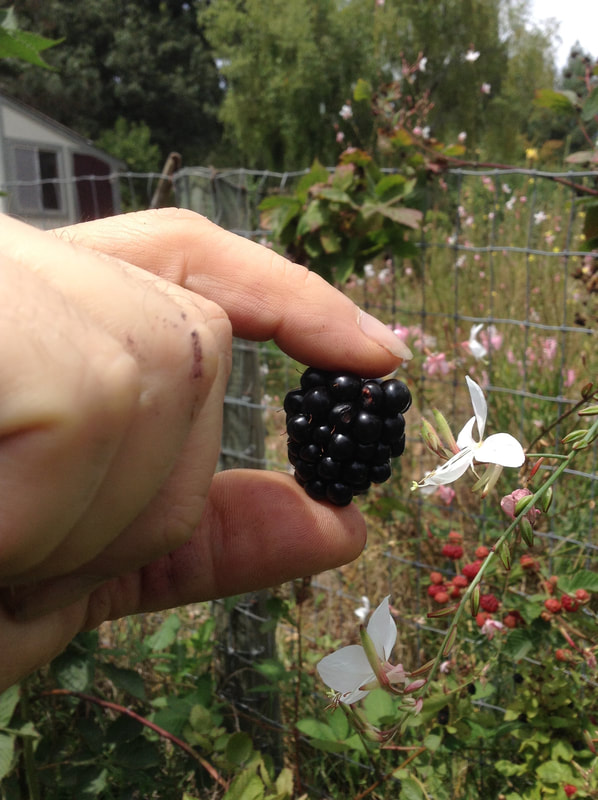
My fresh wild blackberry harvest!
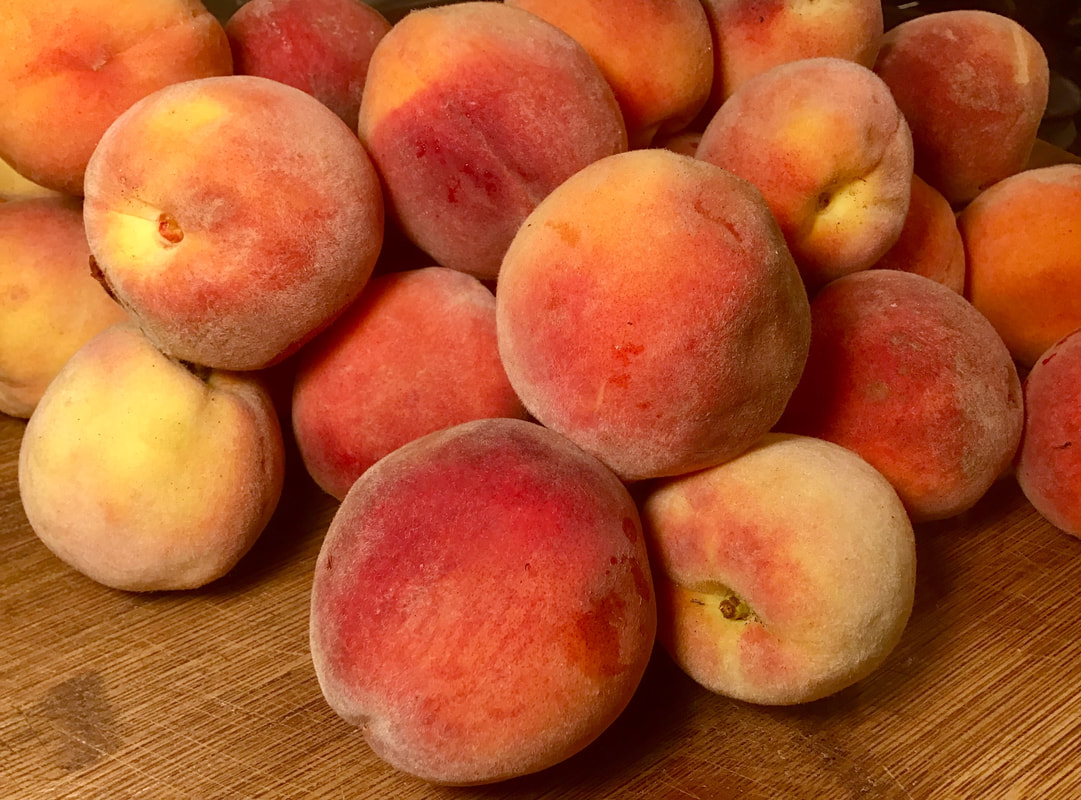
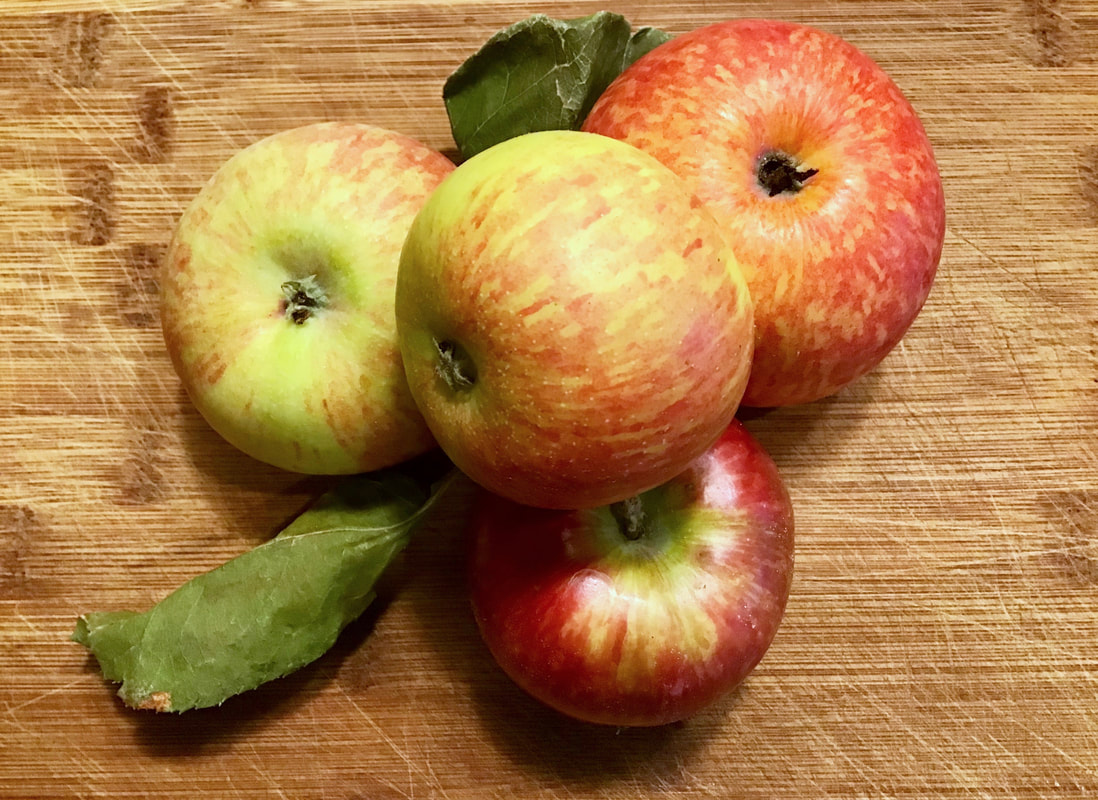
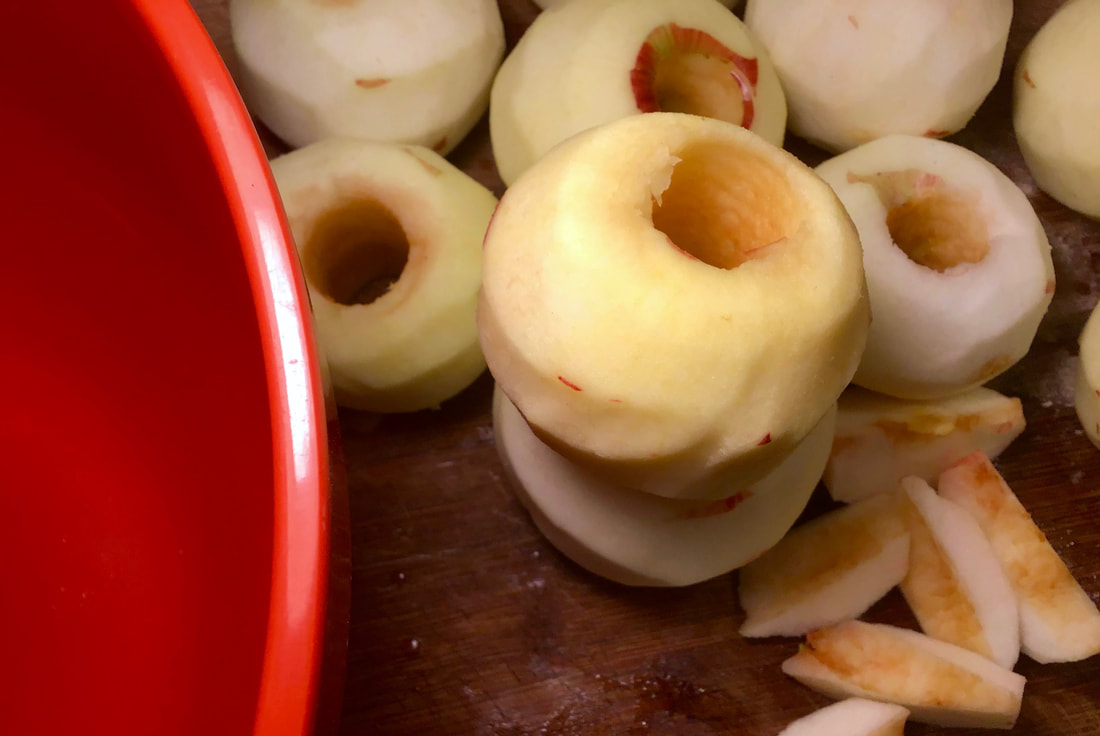
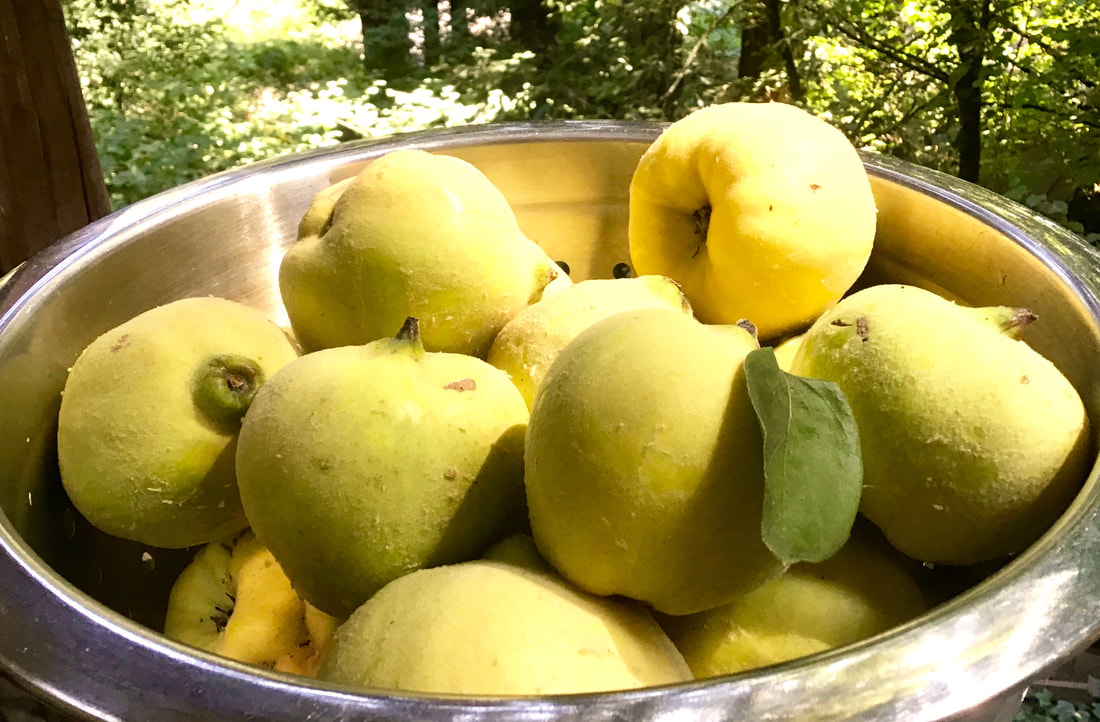
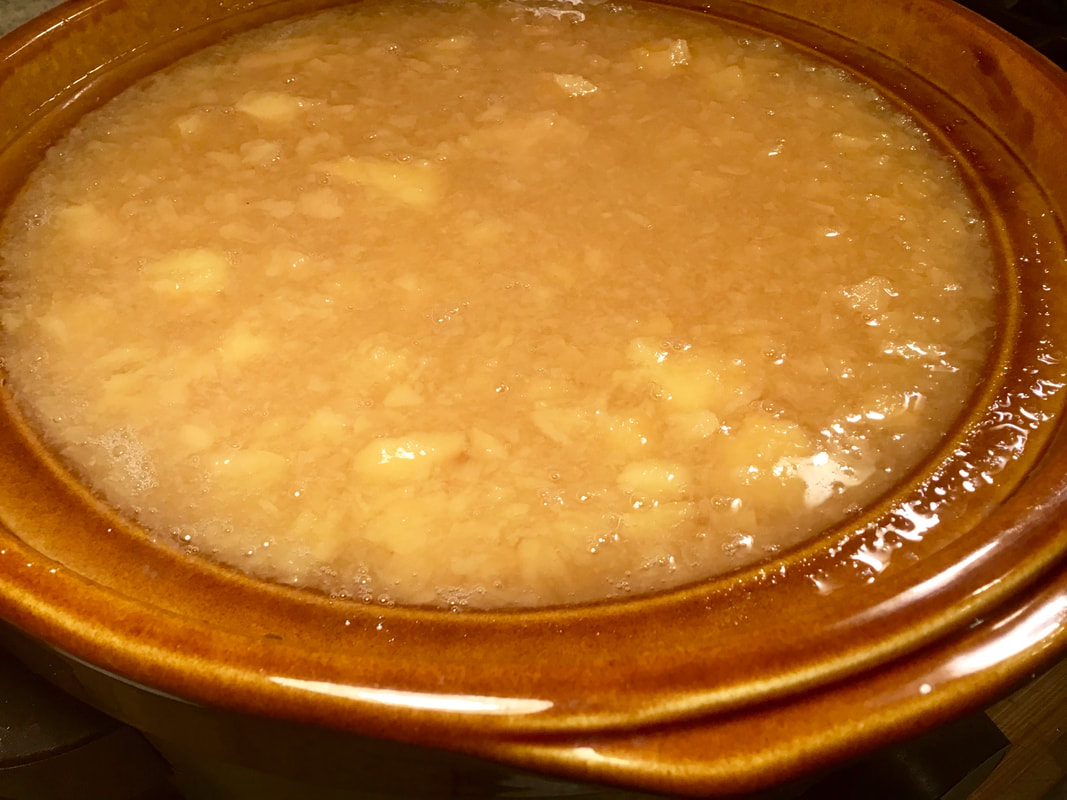
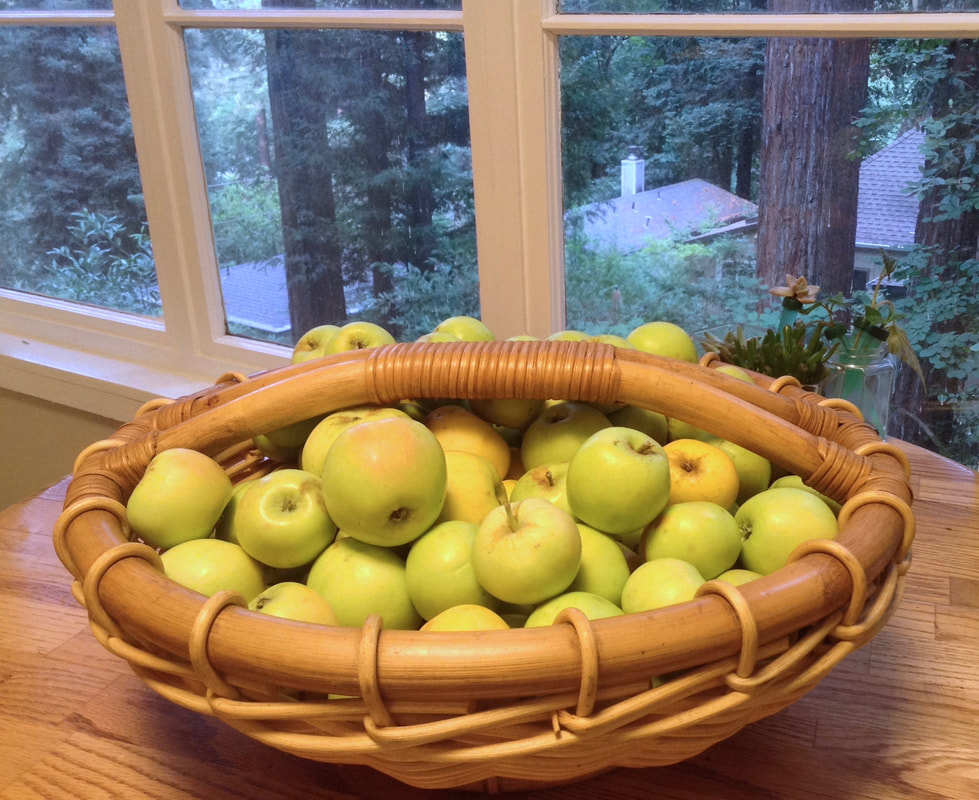
Fresh local peaches ready to peel...
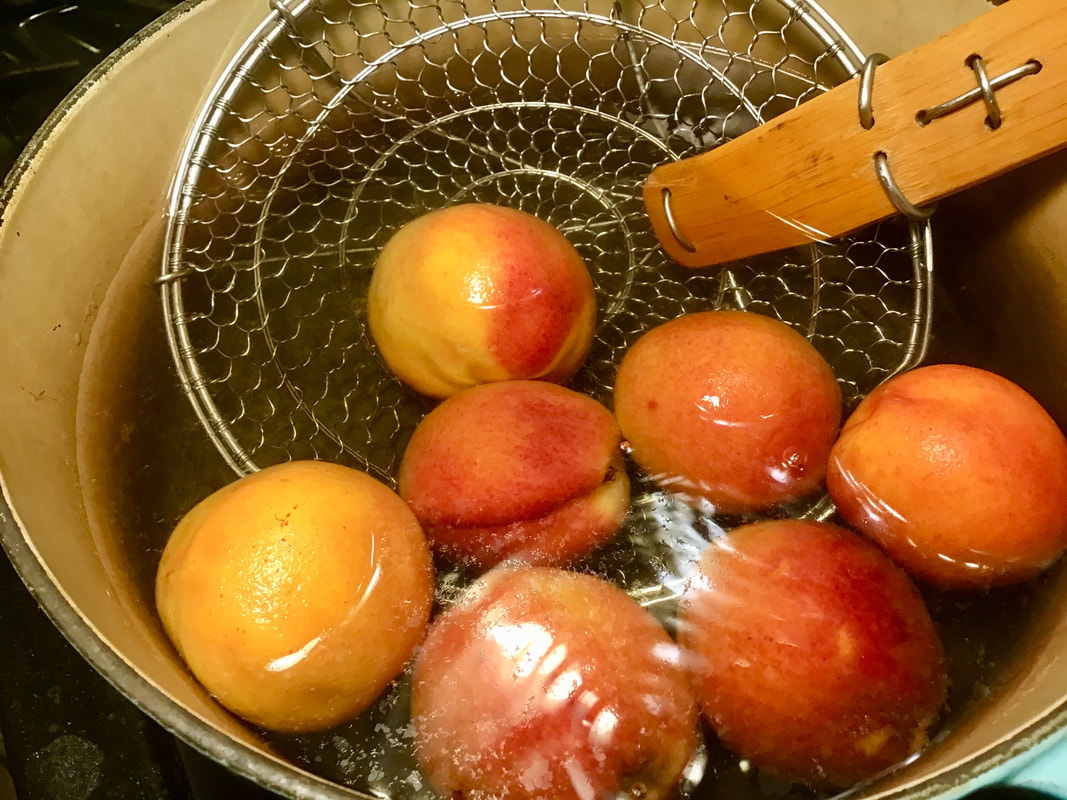
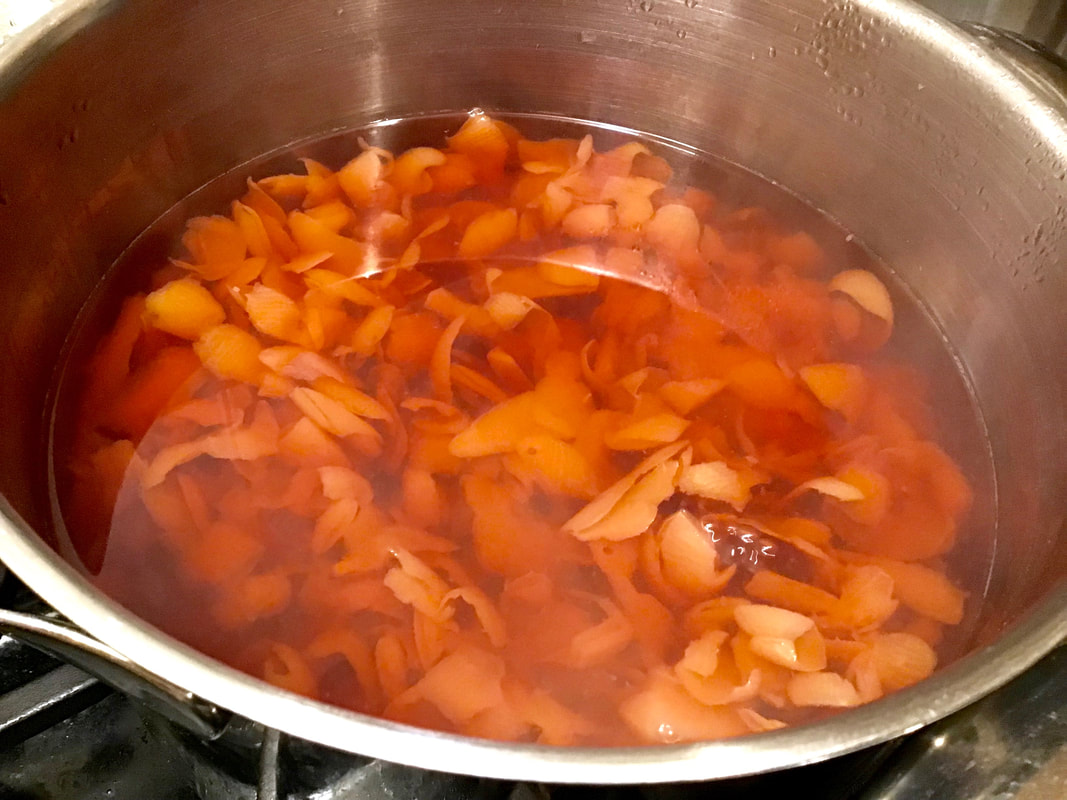
Drop 'em into some boiling water for just a minute to loosen the skin for easy peeling...
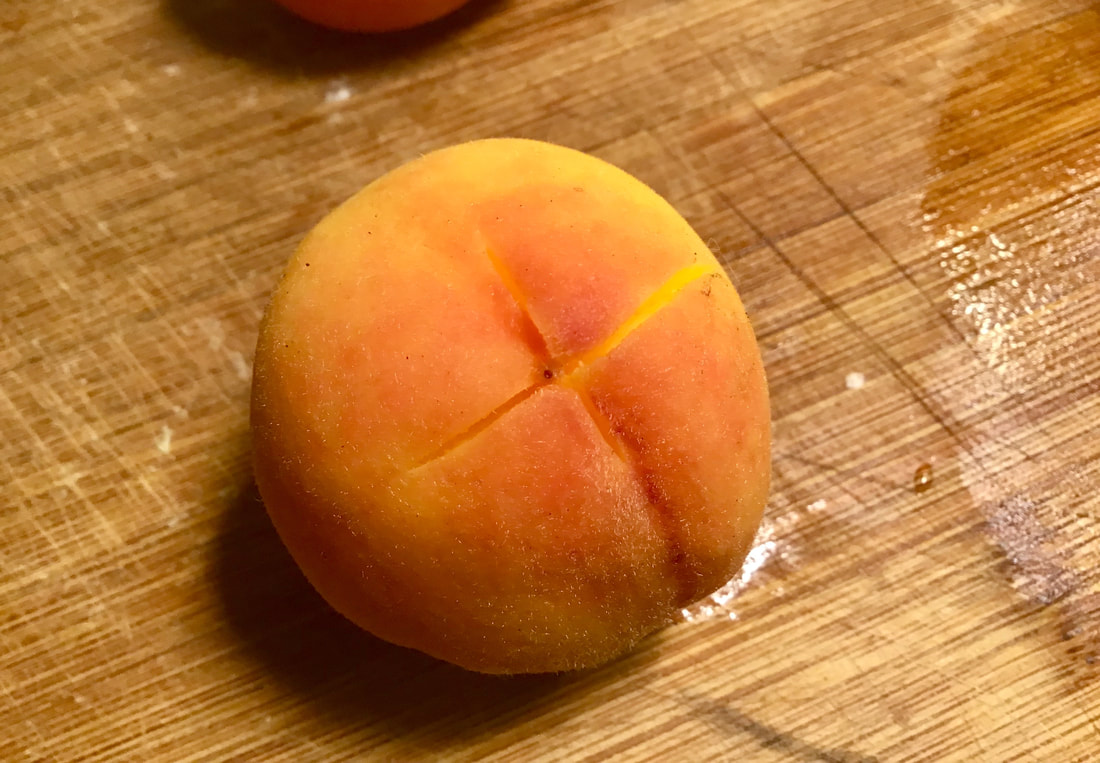
Cut a small X on the bottom before boiling for easy peeling...
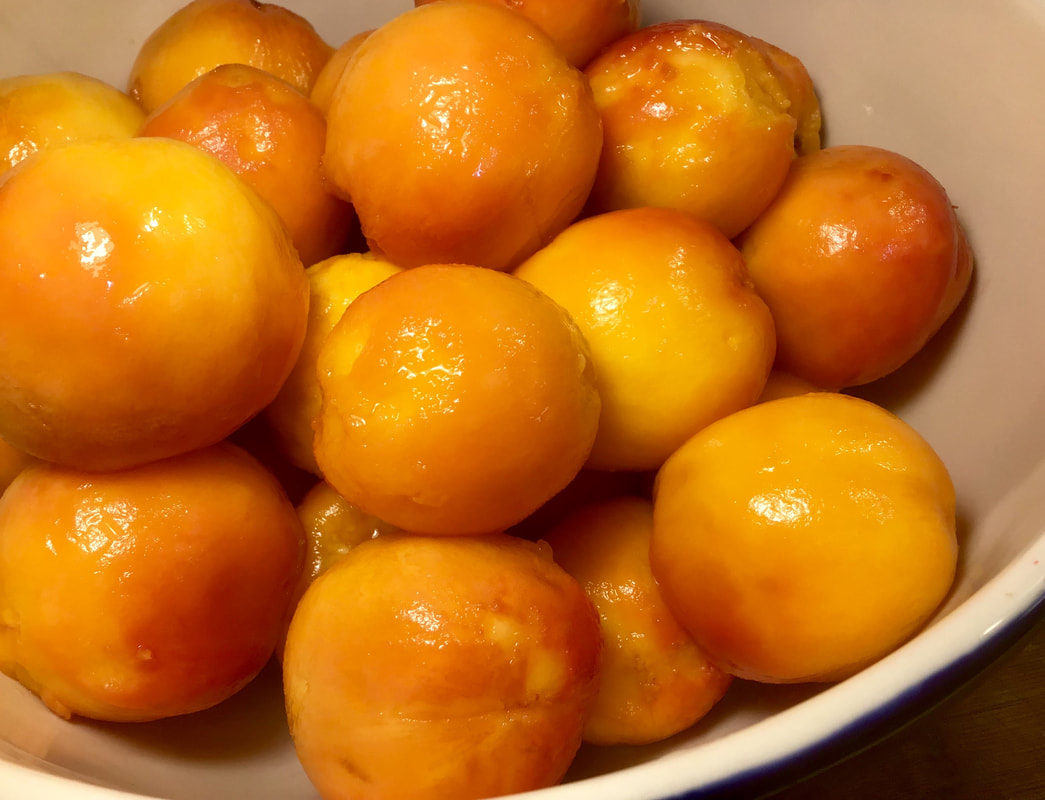
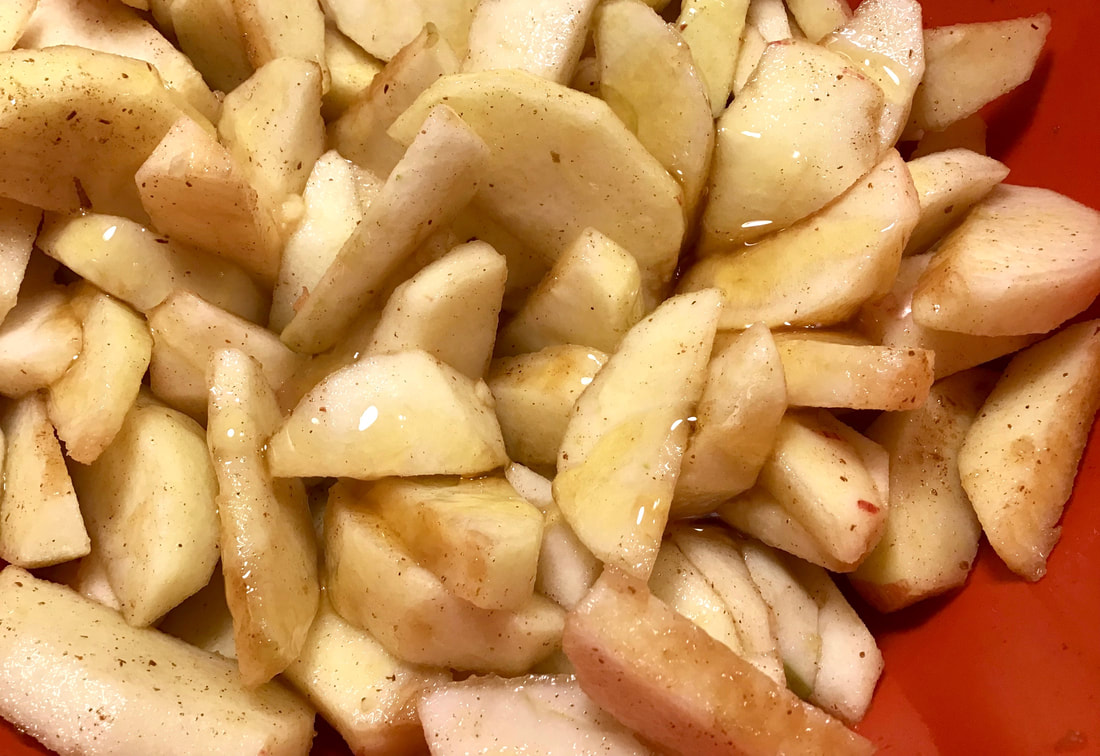
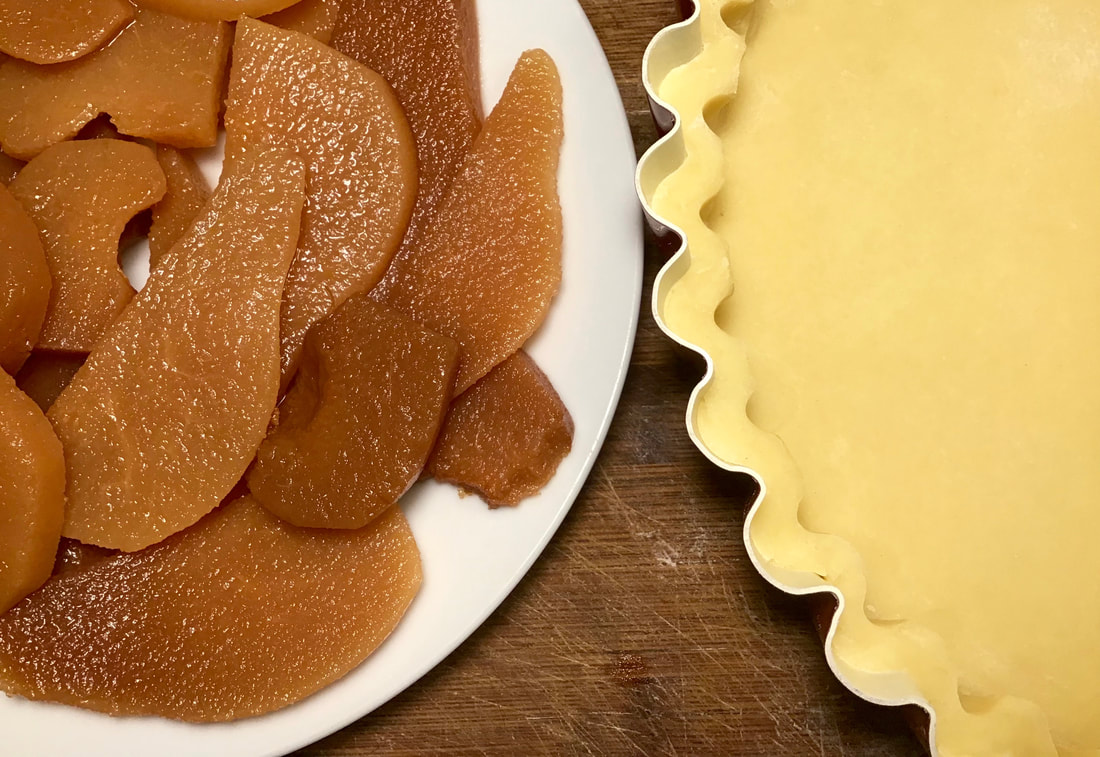
Freshly-peeled peaches...
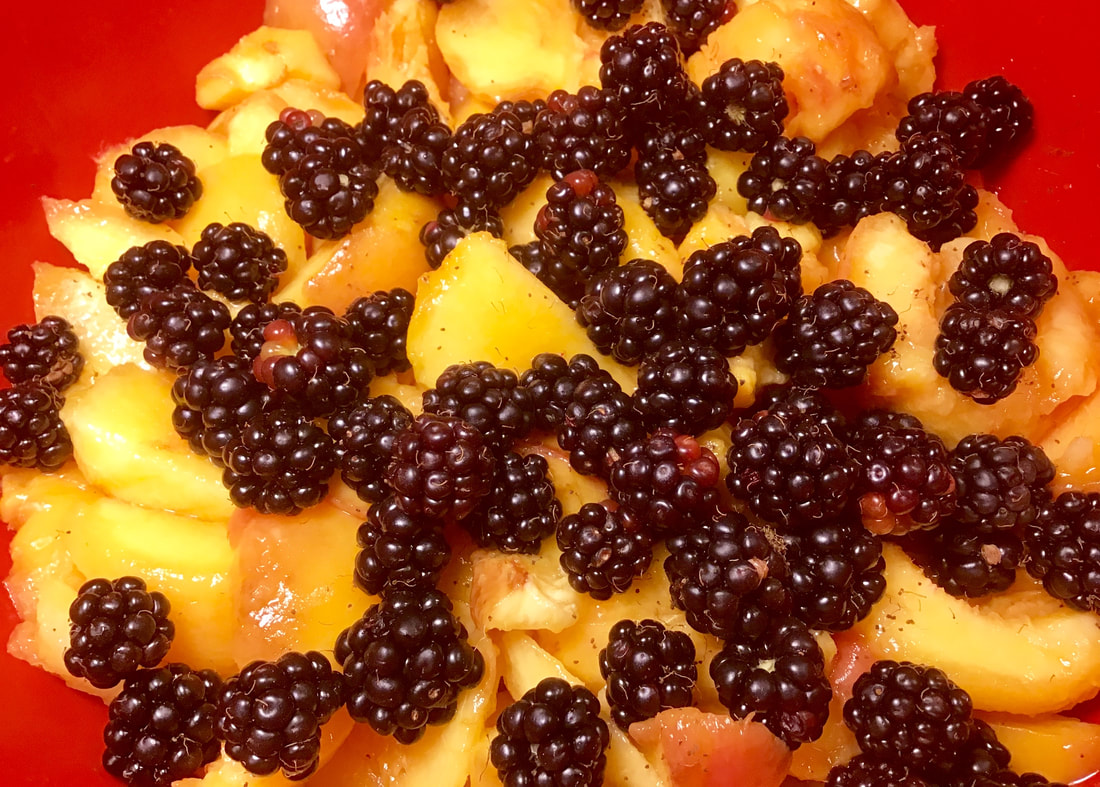
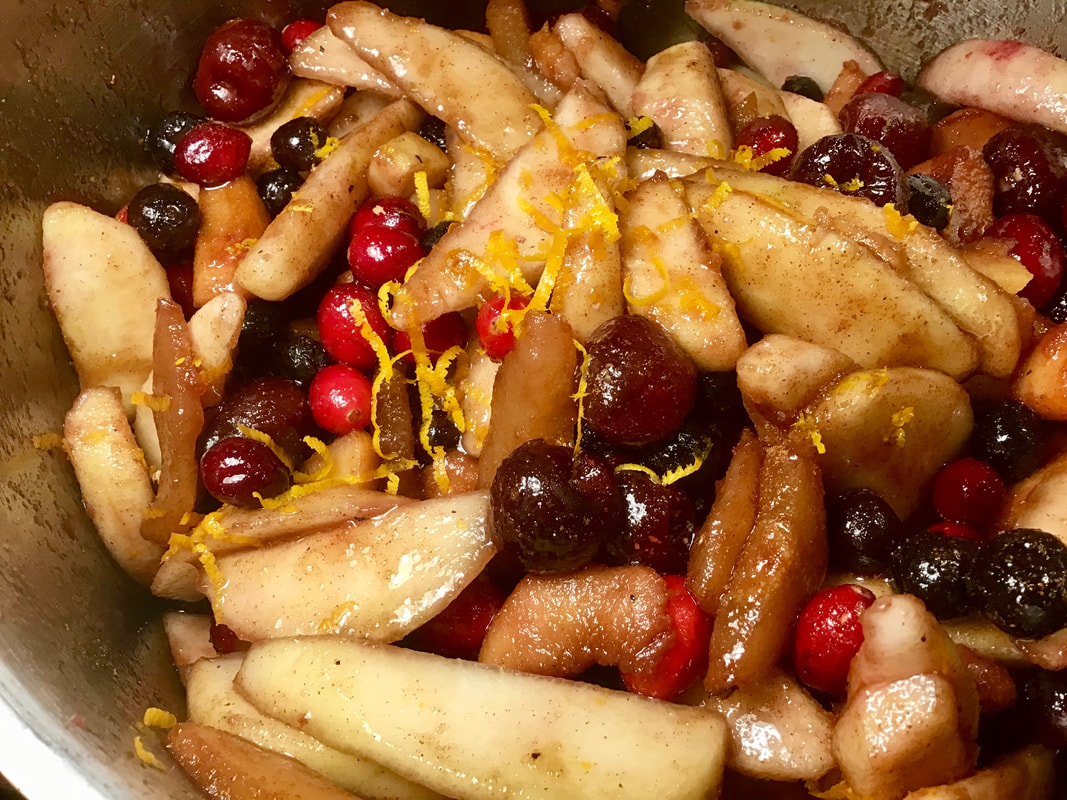
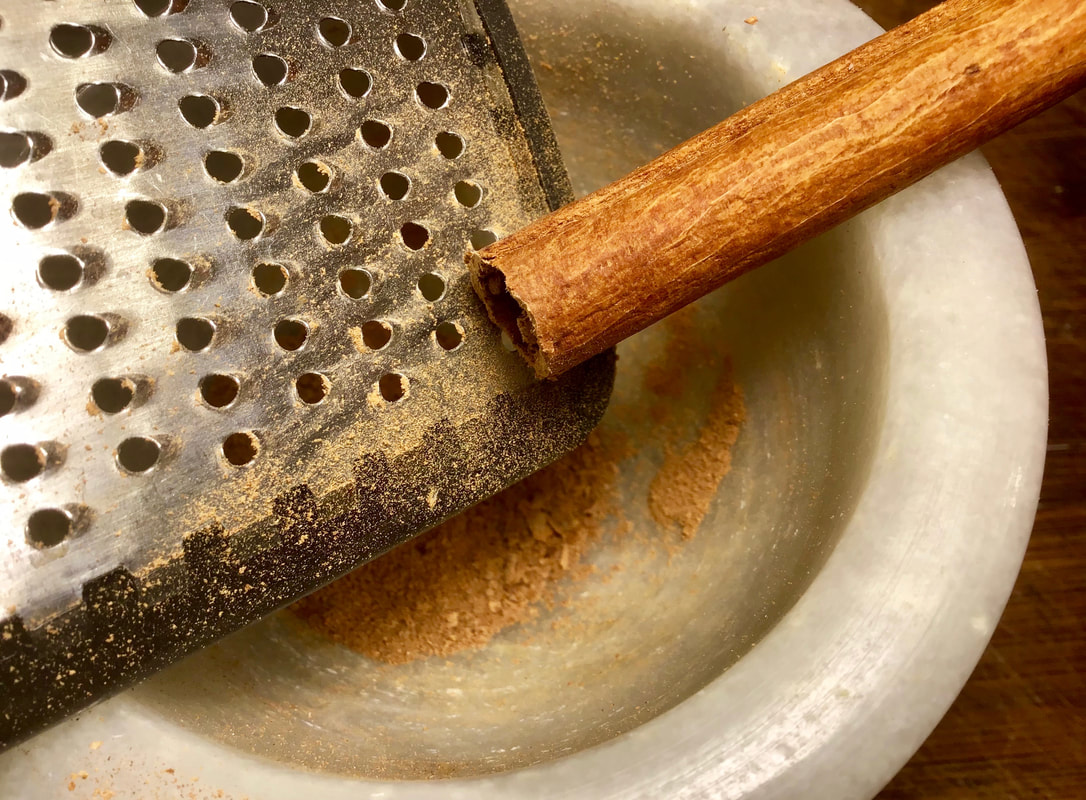
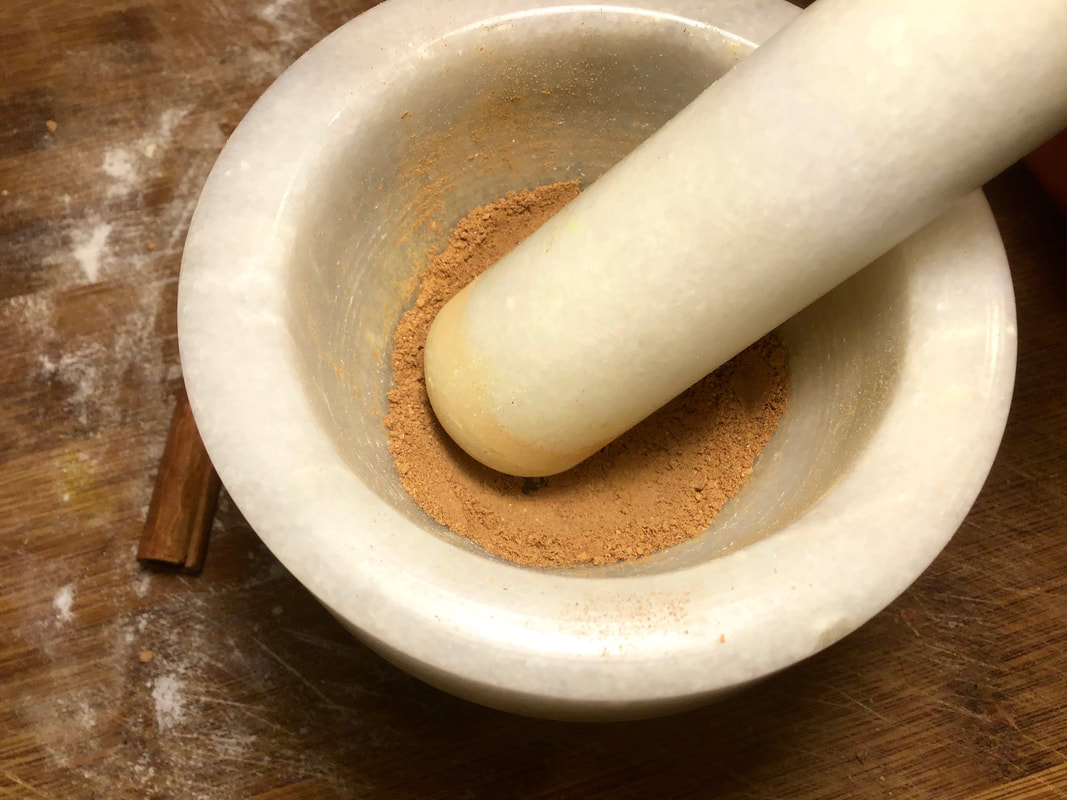
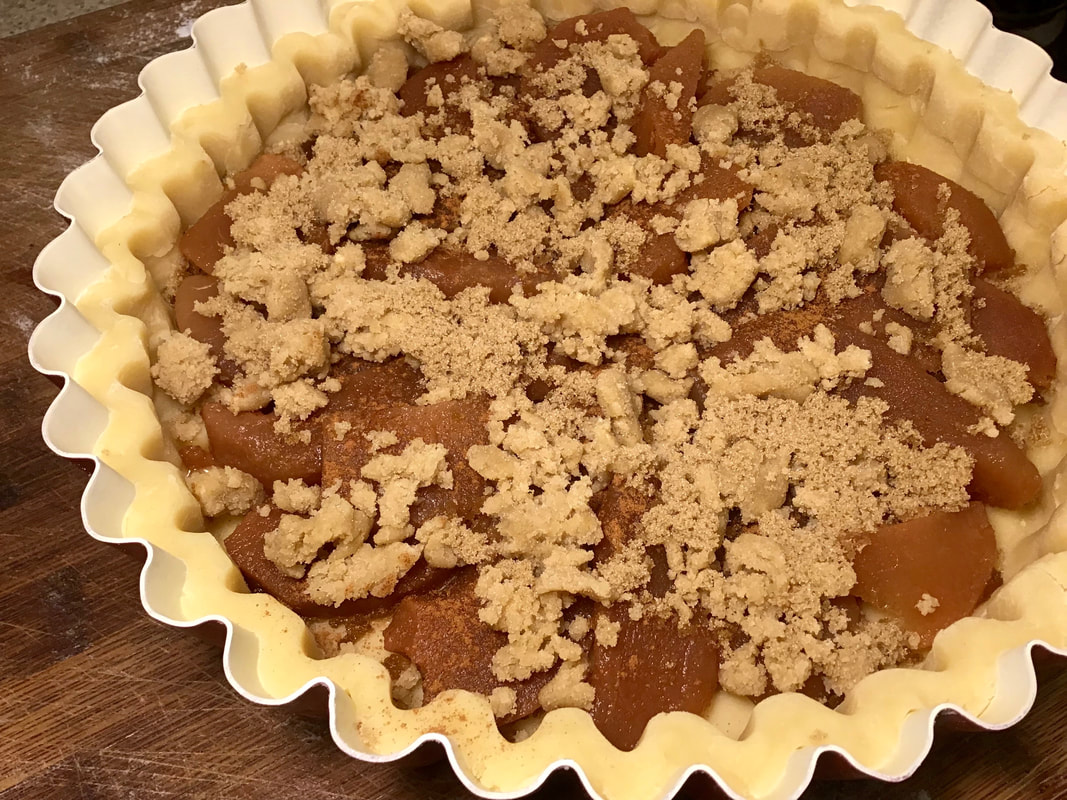
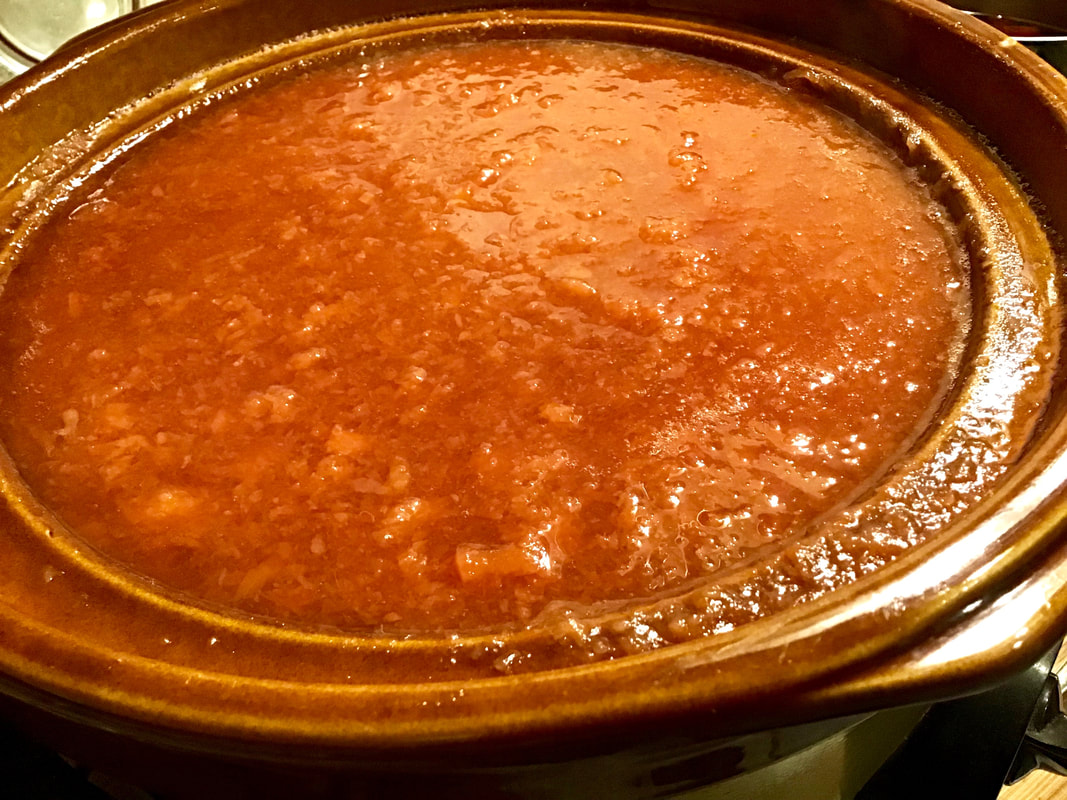
Add the peaches to the berries along with some freshly-ground cardamom, brown sugar, and some tapioca starch for thickening.
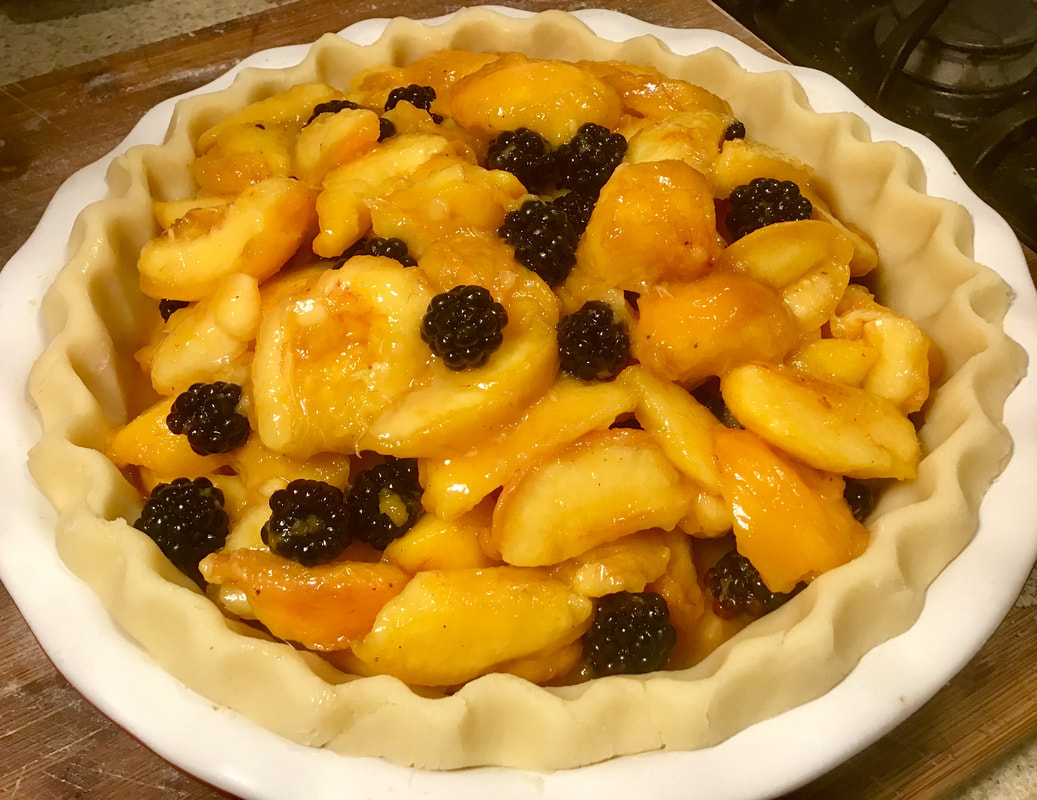
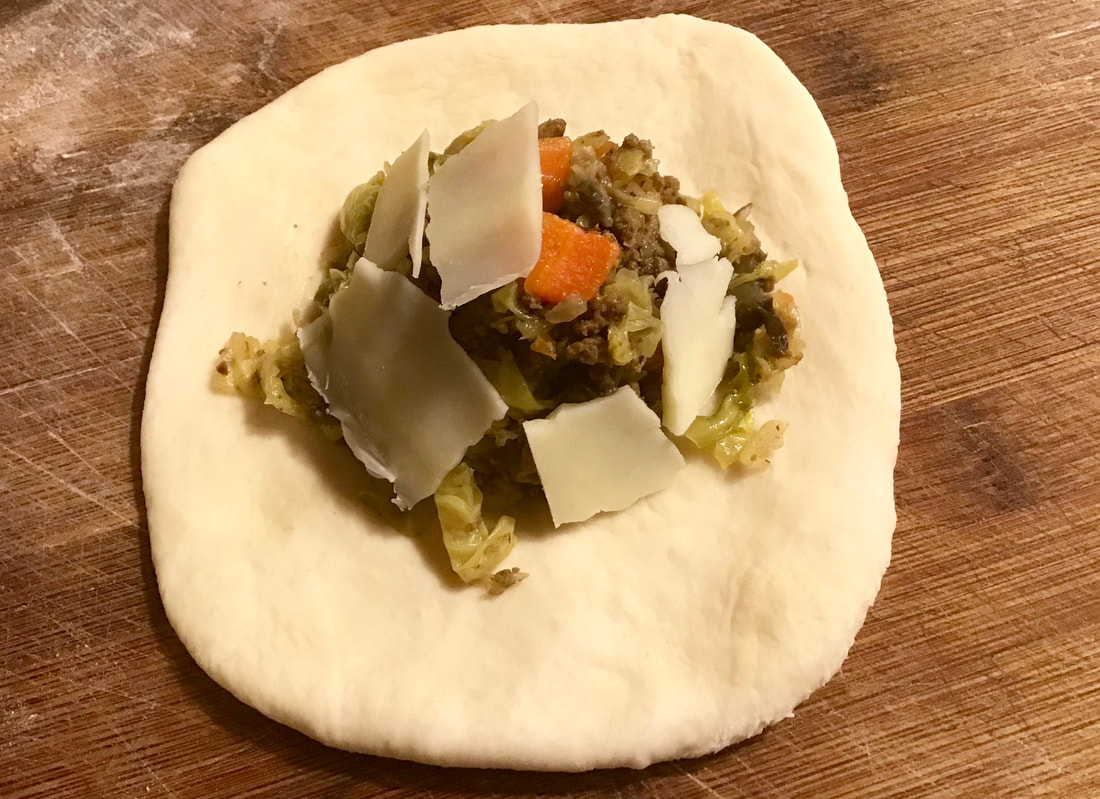
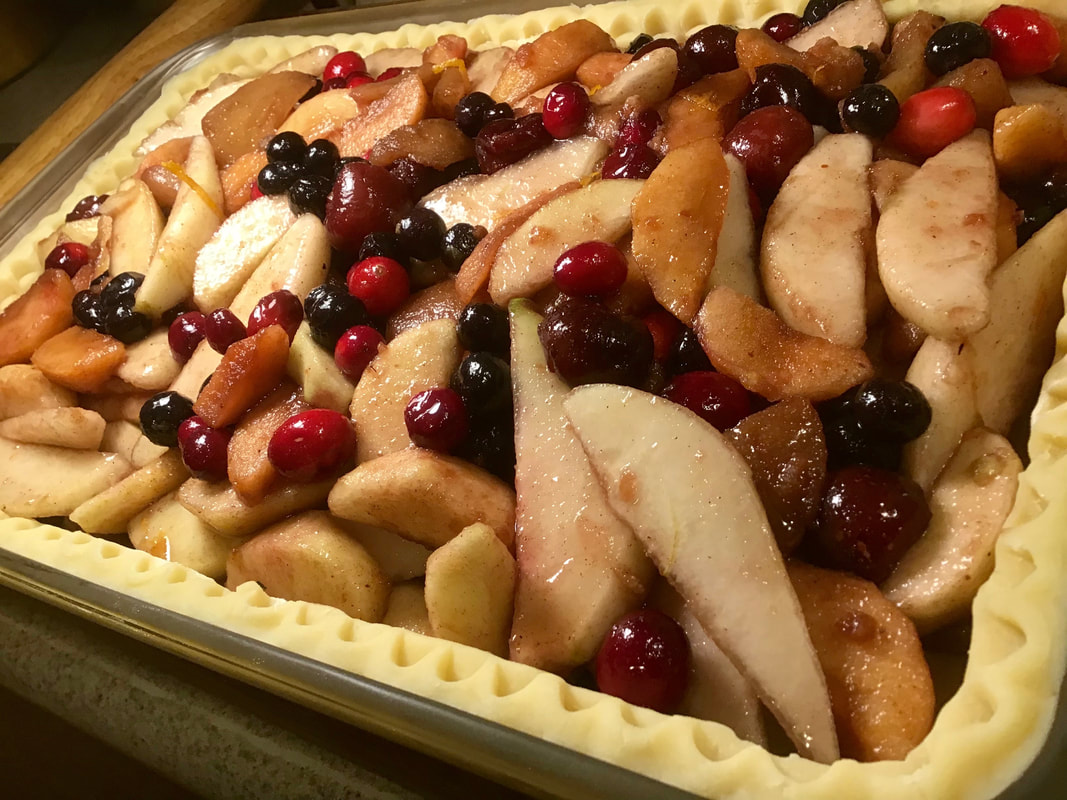
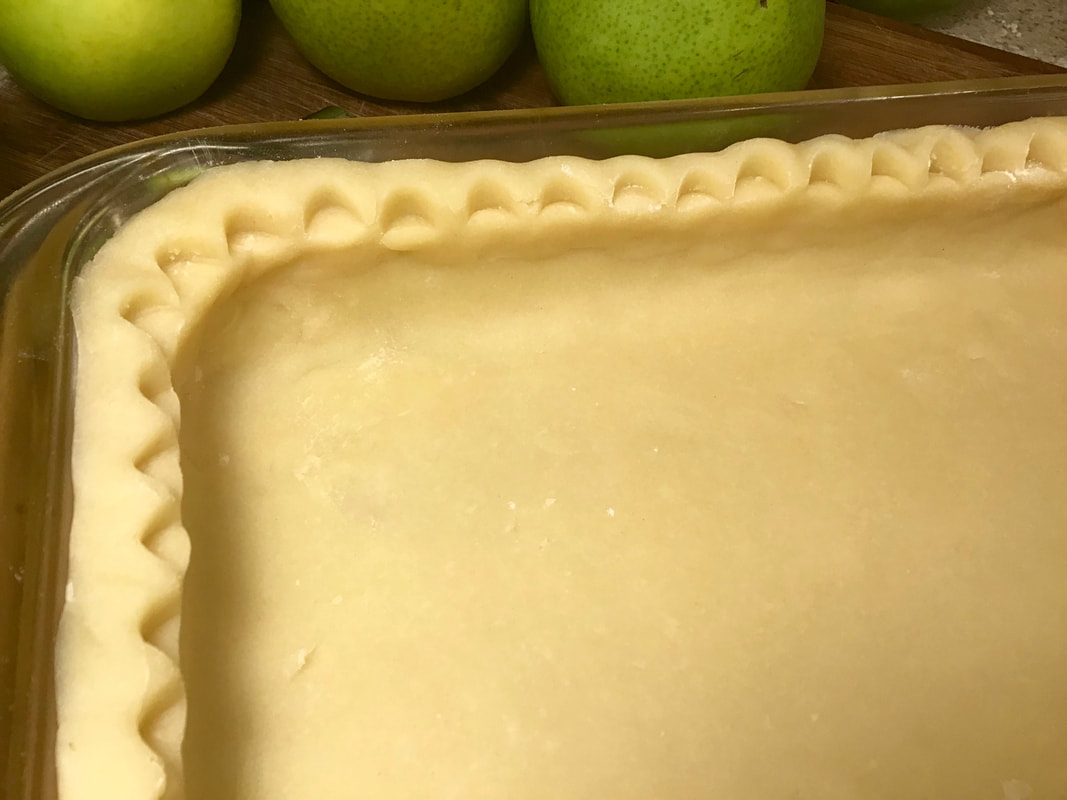
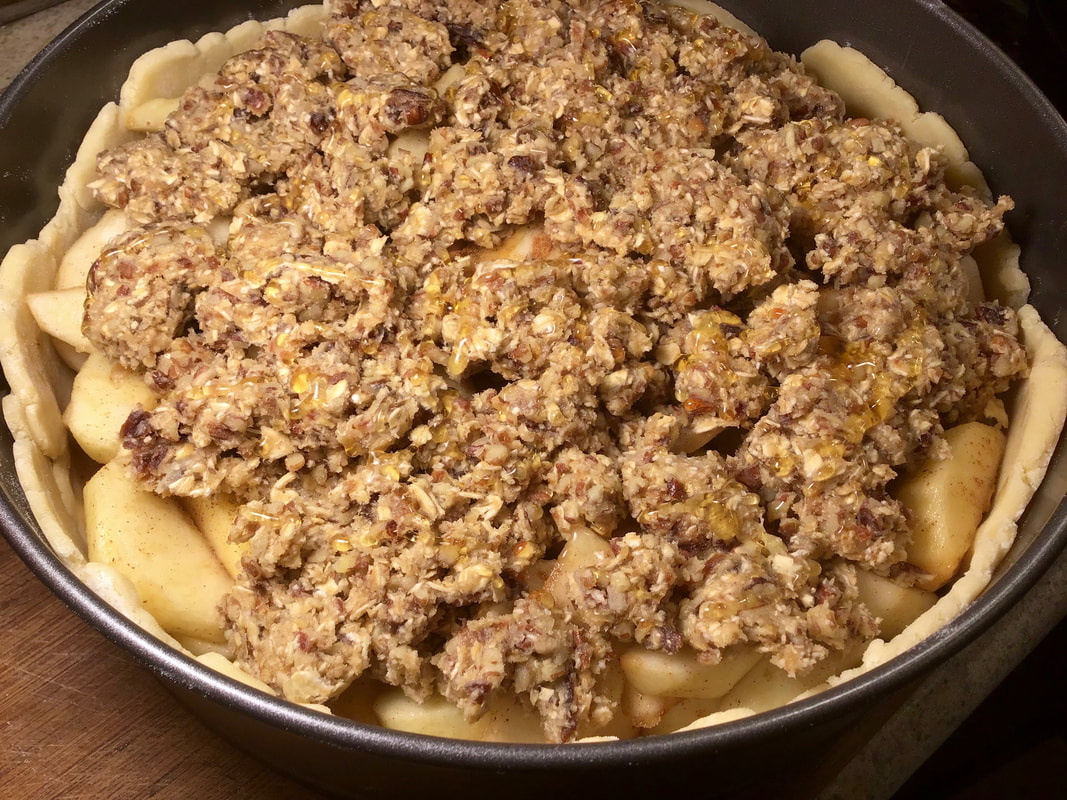
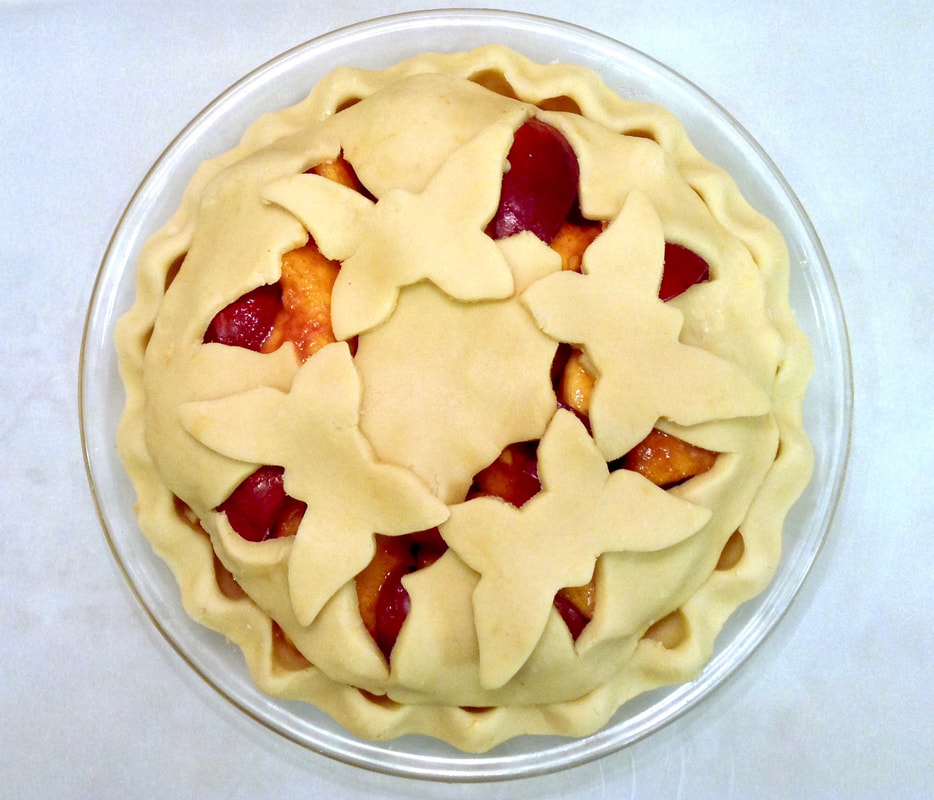
Place the filling into your prepared pie crust...
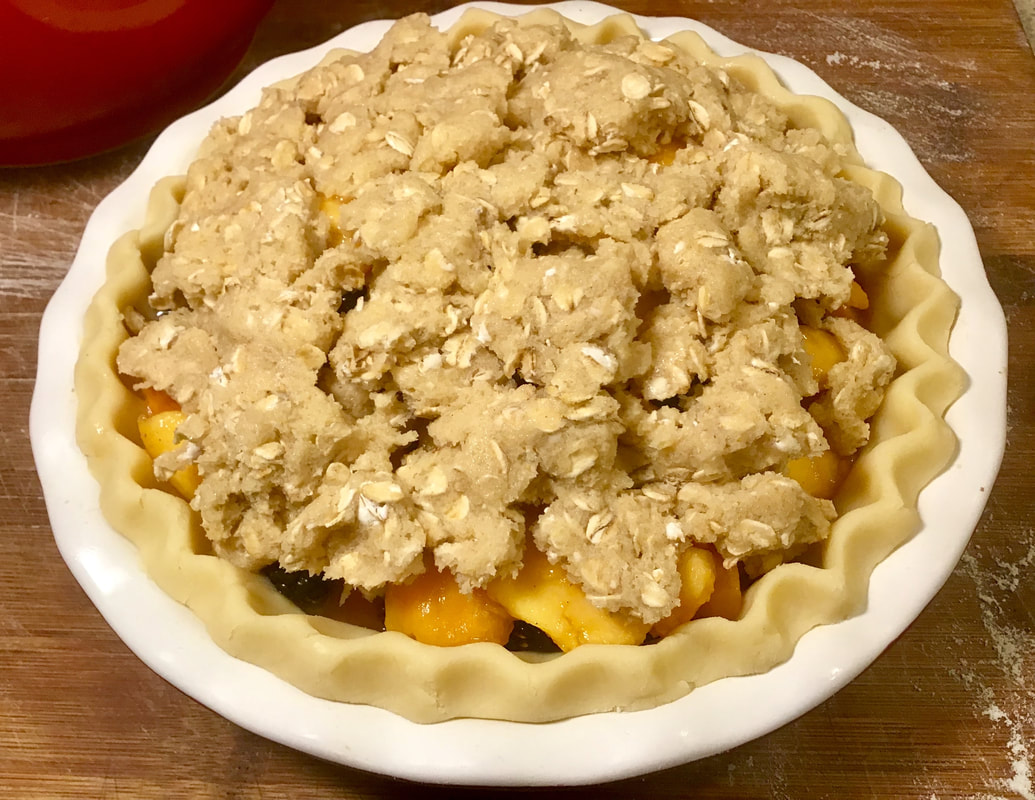
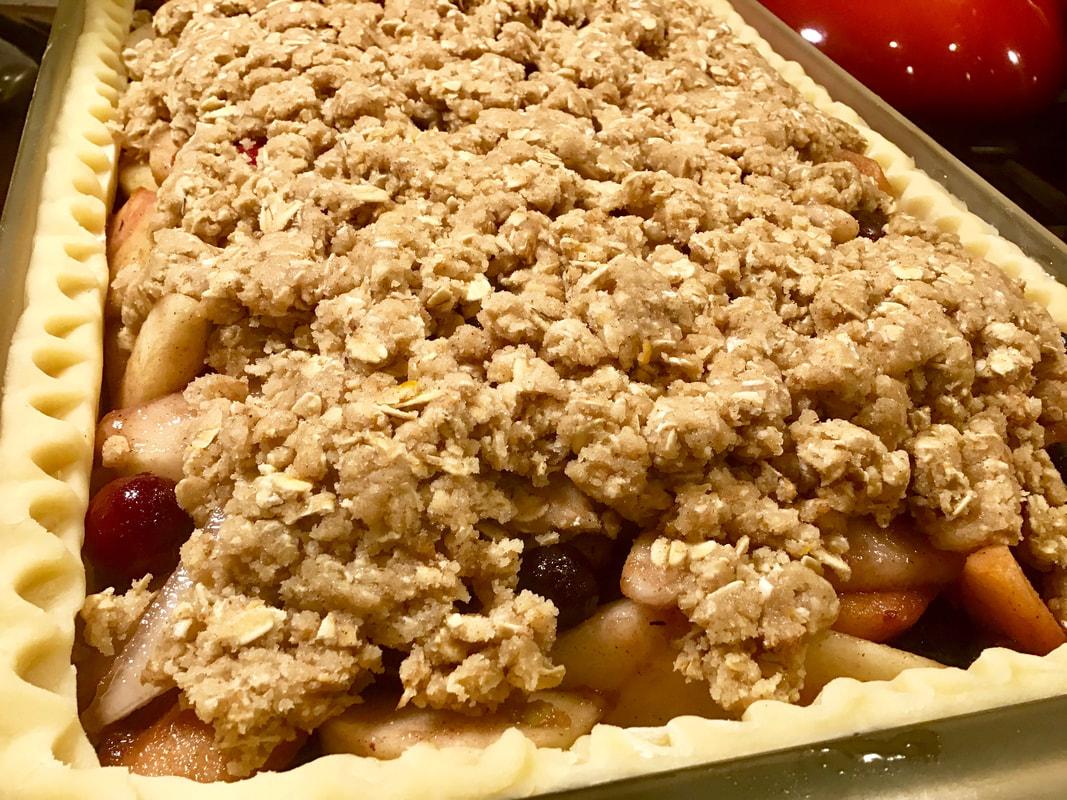
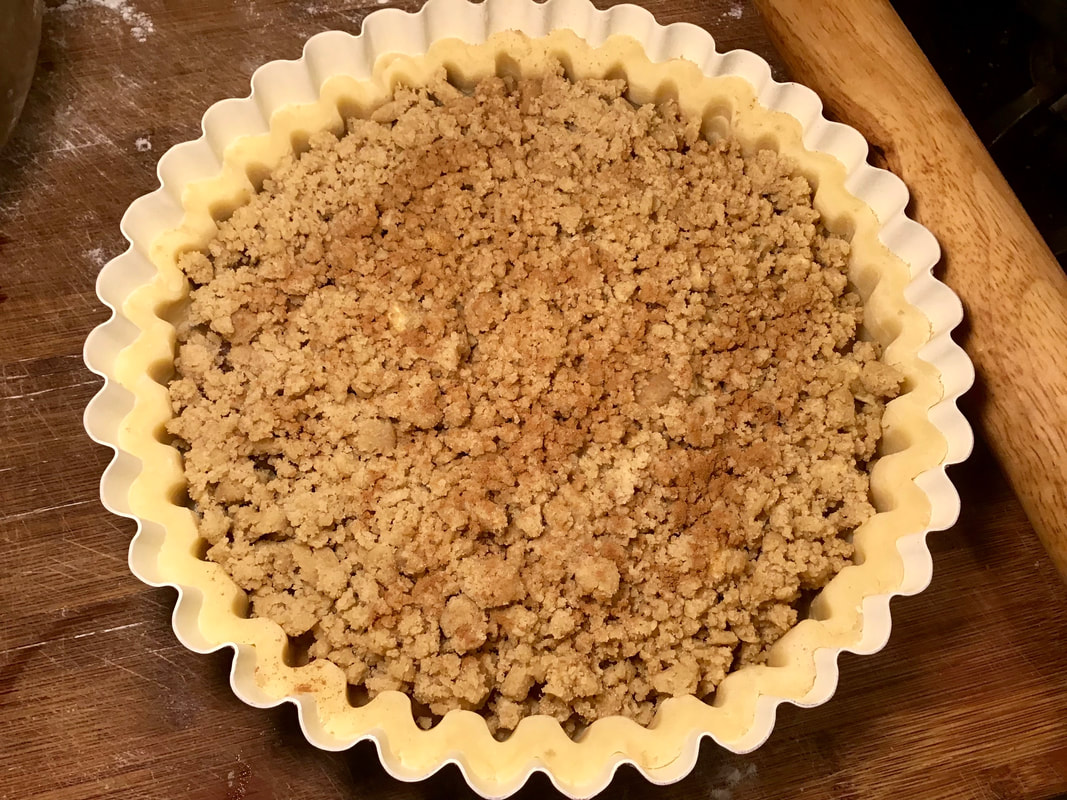
I added an oat crumble topping...
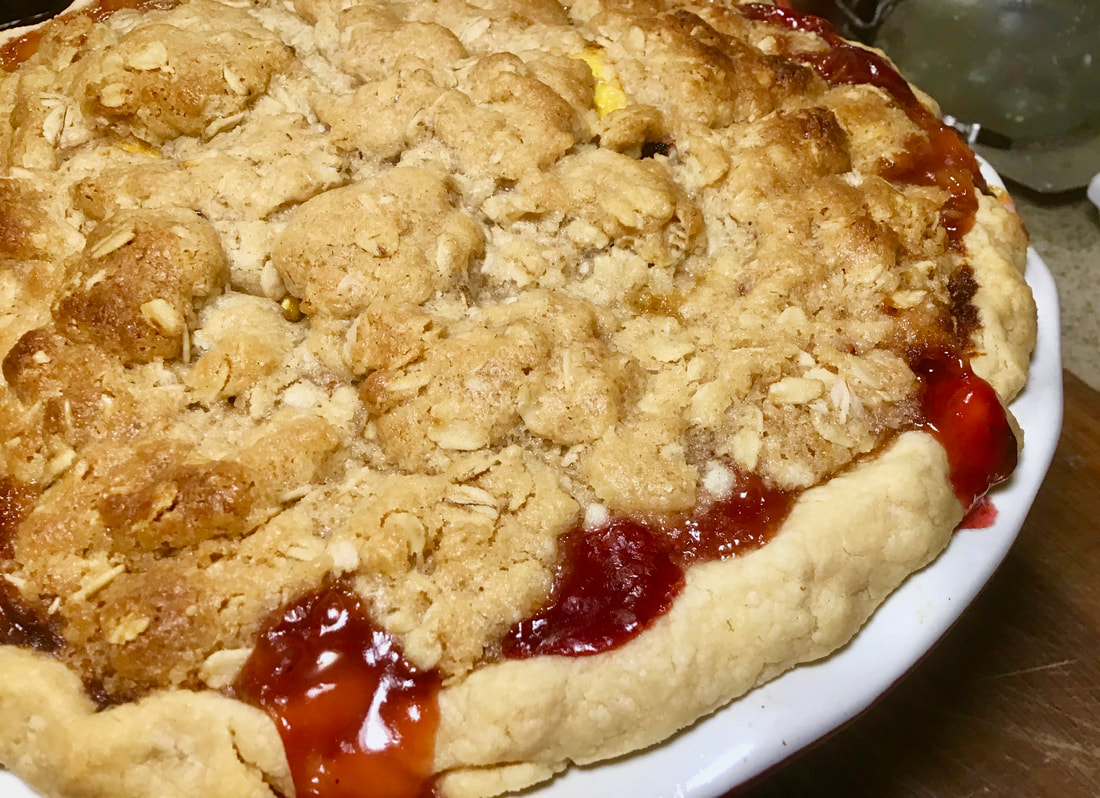
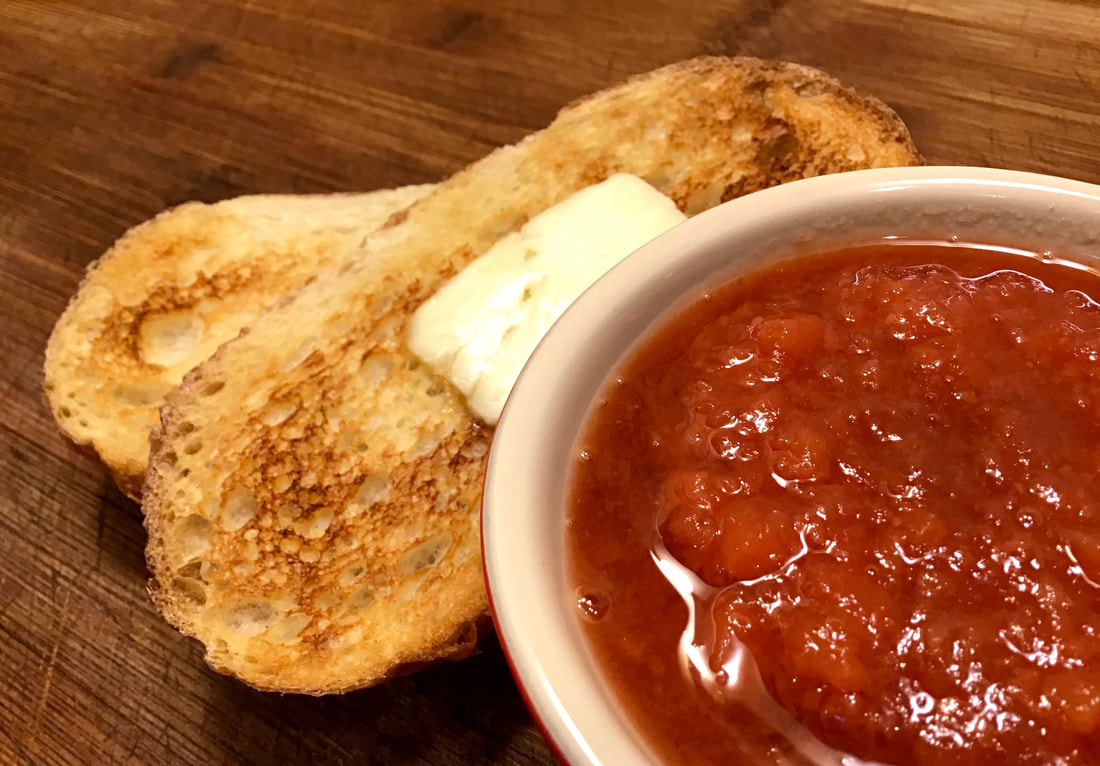
It's time for pie! :)
Local Peach and Wild Blackberry Pie!
Begin with preparing the pie crust. Here is my recipe below:
Basic Pie Crust
Yield 1 crust
1 cup flour
1 stick chilled butter
1 Tbsp cold water
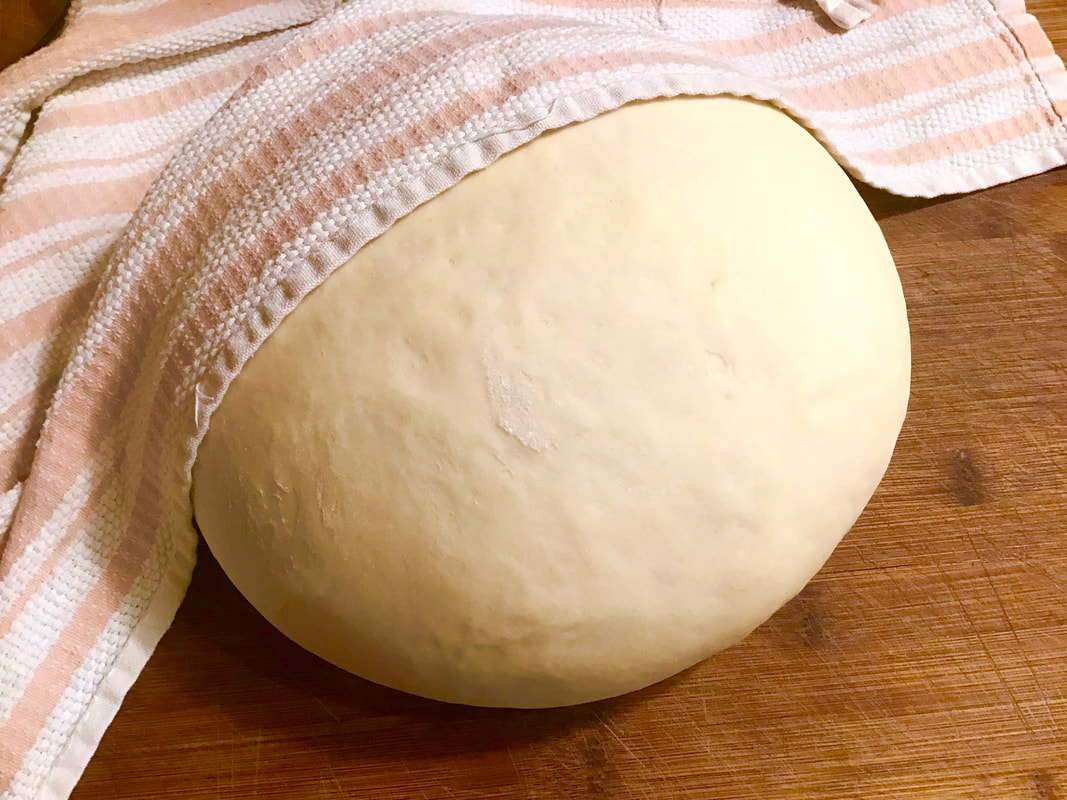
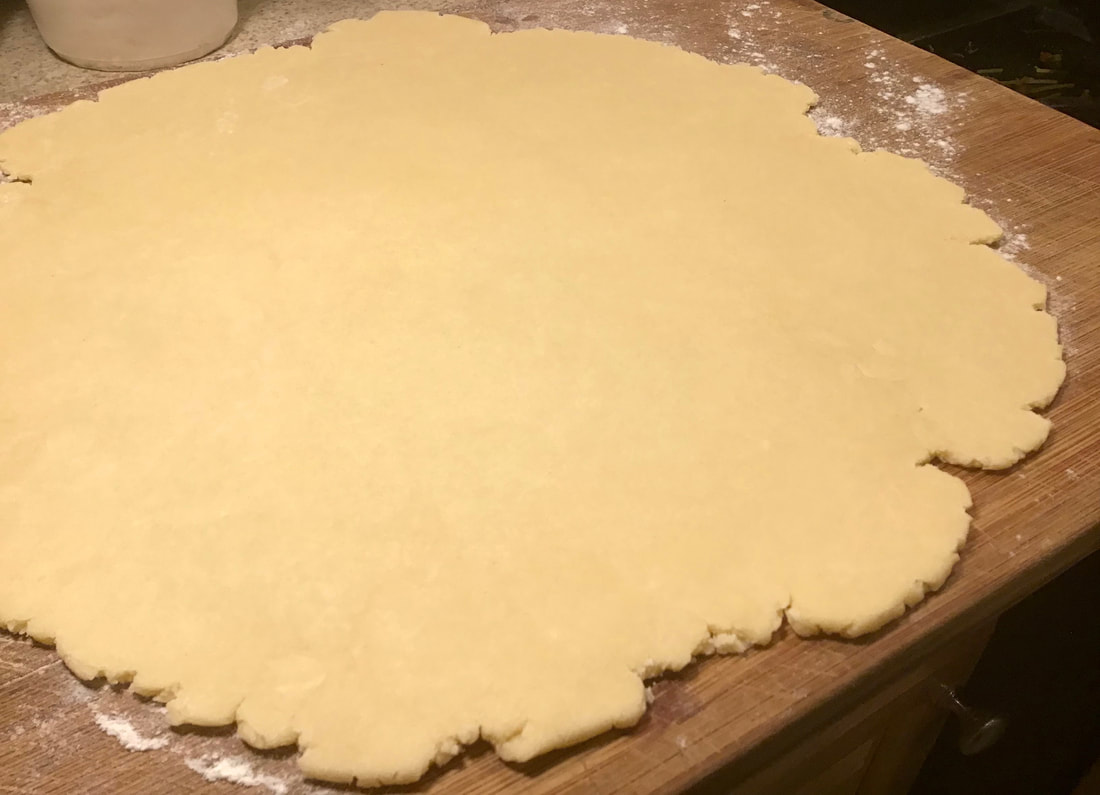
Place the flour in the bowl of your mixer. Using the paddle attachment, begin mixing the flour on medium-low speed. Dice the chilled butter and begin adding it to the flour as it continues to turn in the bowl. Gradually increase the speed on the mixer, and continue adding the butter until it is all in the bowl. The butter and flour will begin to combine into a crumbly texture. Add a bit of the cold water to the mixture as it is turning in the bowl. The mixture will begin to form a loose ball of dough. Shut off the mixer when this happens, and turn the dough out onto a floured work surface. Gather the dough into a ball and wrap the dough in plastic. Place it in the fridge to chill until you're ready to roll it!
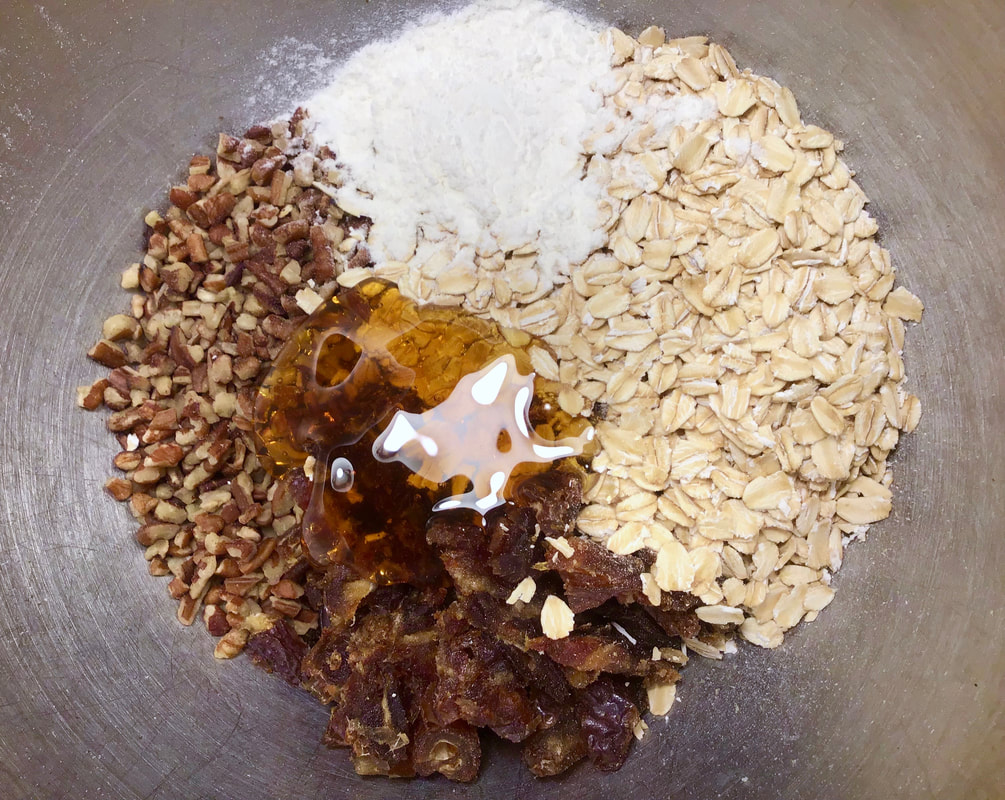
Prepare the crumble topping and place in the fridge to keep chilled until ready for use...
Oat Crumble Topping
1/2 cup rolled oats
1/2 cup flour
1/2 cup diced and chilled butter
1/2 cup brown sugar
Combine all of the crumble topping ingredients in your stand mixer fitted with the paddle, and mix on high speed until the ingredients just start to come together. Be sure not to over-mix everything. You do not want the gluten in the flour to develop. A brief mixing period keeps your topping nice and crumbly!
Peach and Blackberry Filling
Using a hot water bath to loosen the skin, peel and slice the peaches.
Place the peeled and sliced peaches in a mixing bowl along with the blackberries.
Add 1/2 cup of brown sugar
Add 1 Tbsp tapioca starch
Add 1 tsp of freshly-ground cardamom
Assembly Directions
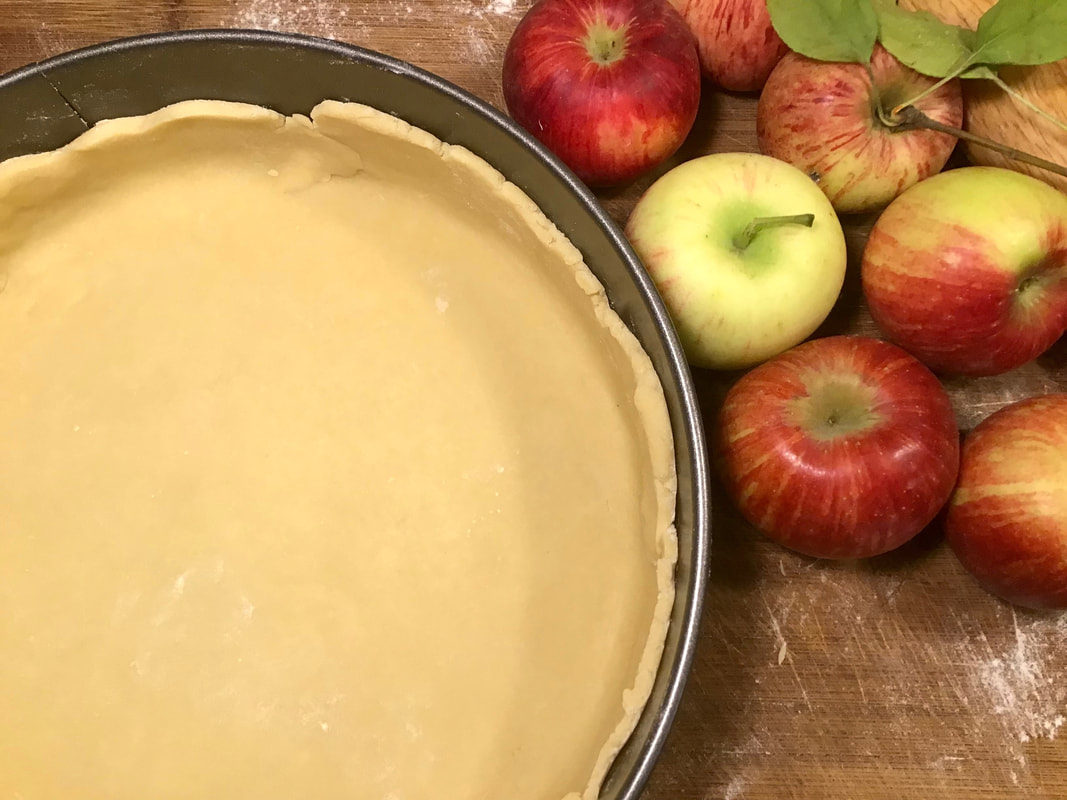
Prepare the pie crust, roll it out and press it into a pie pan and place it in the fridge to chill.
Prepare the crumble topping and place in the fridge to keep chilled.
Prepare the peach and blackberry filling.
Place the filling evenly into your chilled crust.
Spread the crumble topping evenly over the top of the pie.
Bake at 325 degrees for about 1 hour until everything is nice and bubbly. :)


 RSS Feed