
It's cherry season around here, and that means it's time for cherry pie! It's also the perfect opportunity to break out my handy lattice roller. Click "Read More" to learn how I use it to make this tasty pie!
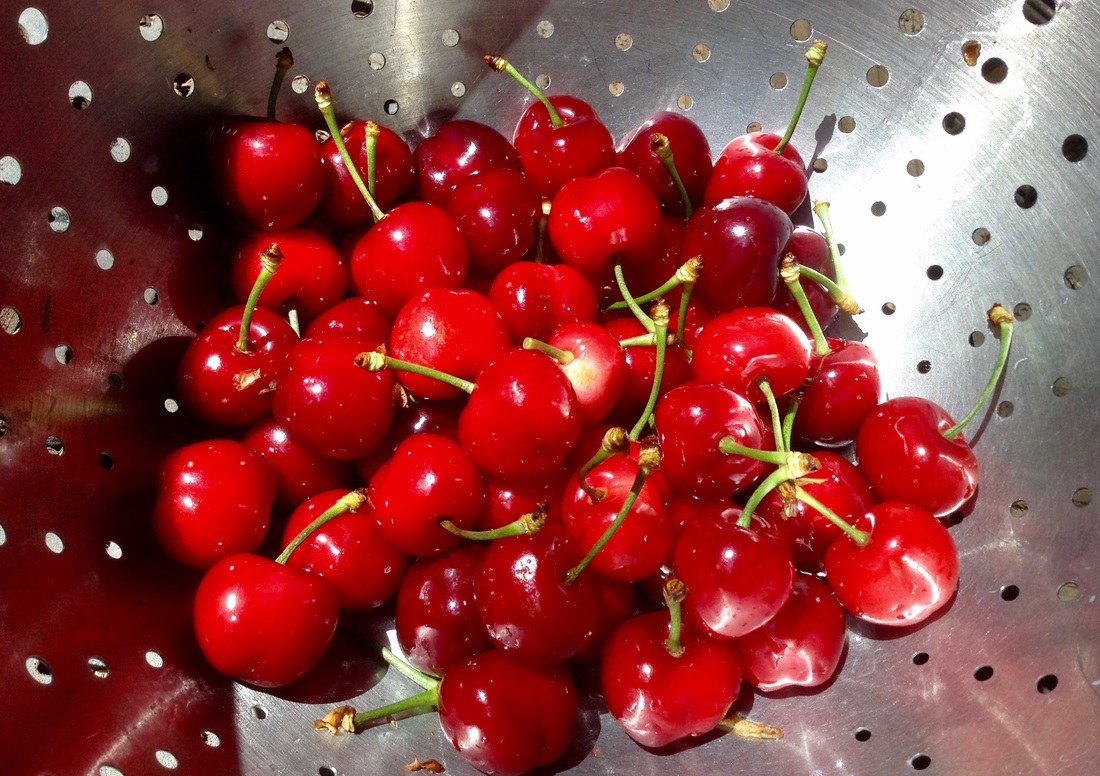
Rinsing the fruit and getting ready to pit...
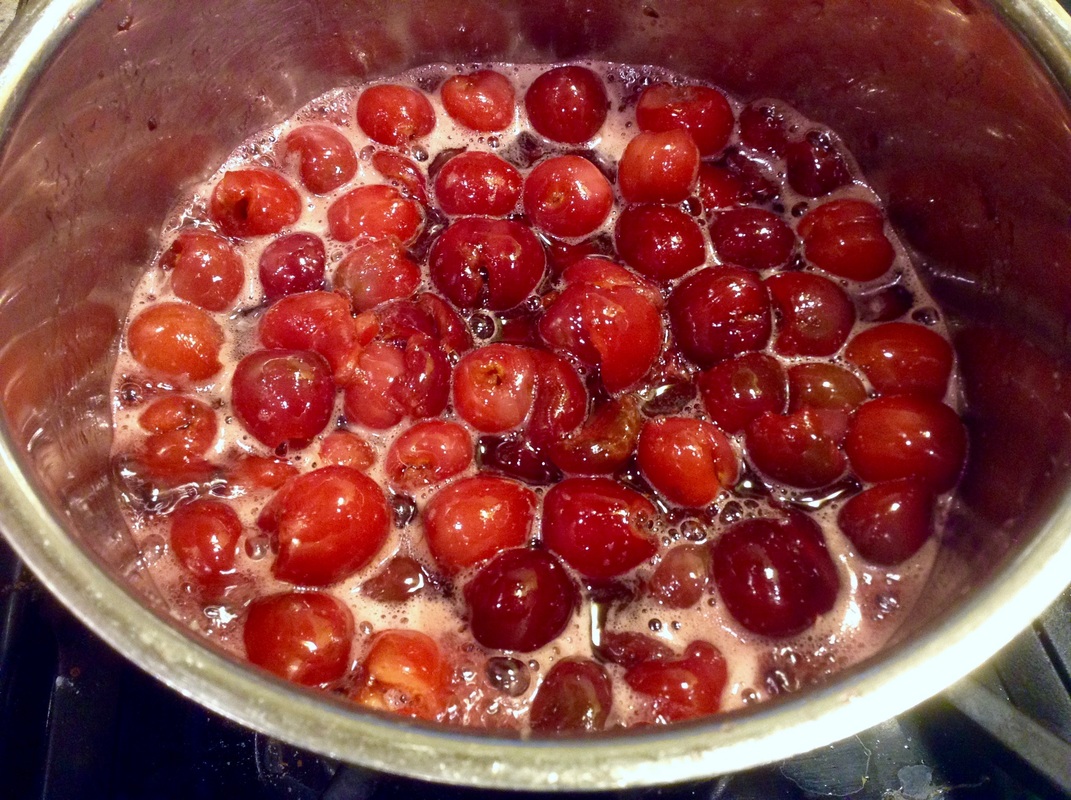
Simmering away...
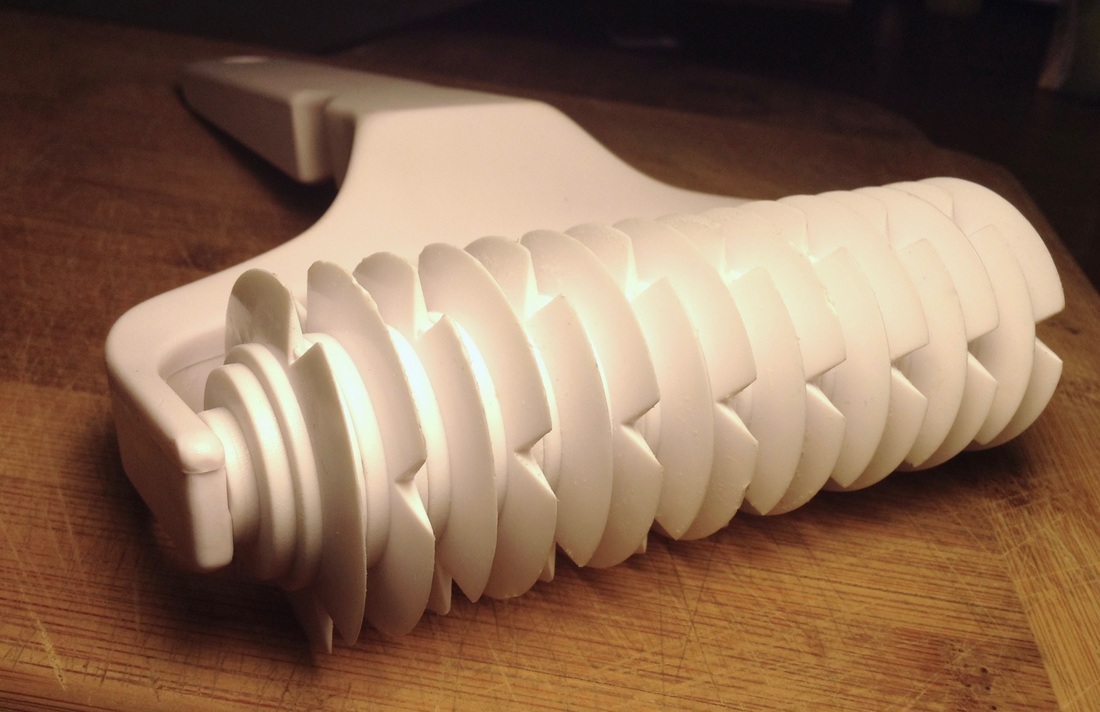
My handy lattice roller!
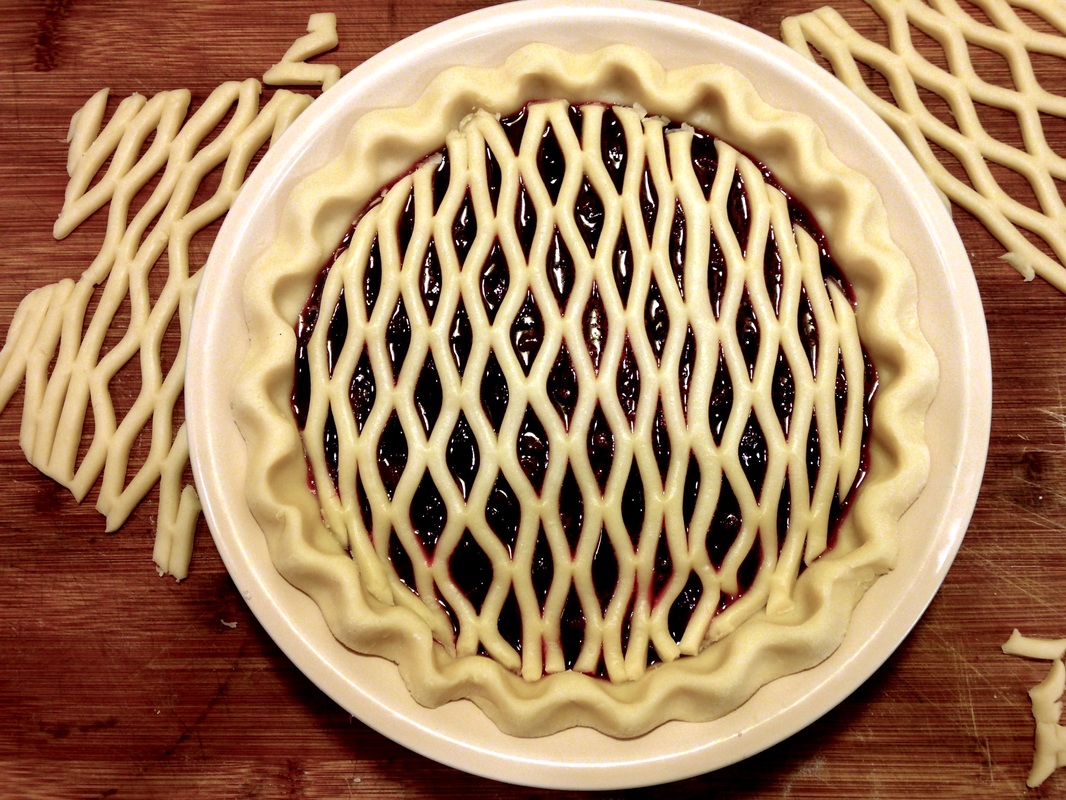
Filled and ready for the oven...Don't worry. The excess lattice gets wrapped around apple slices and baked! No waste. :)
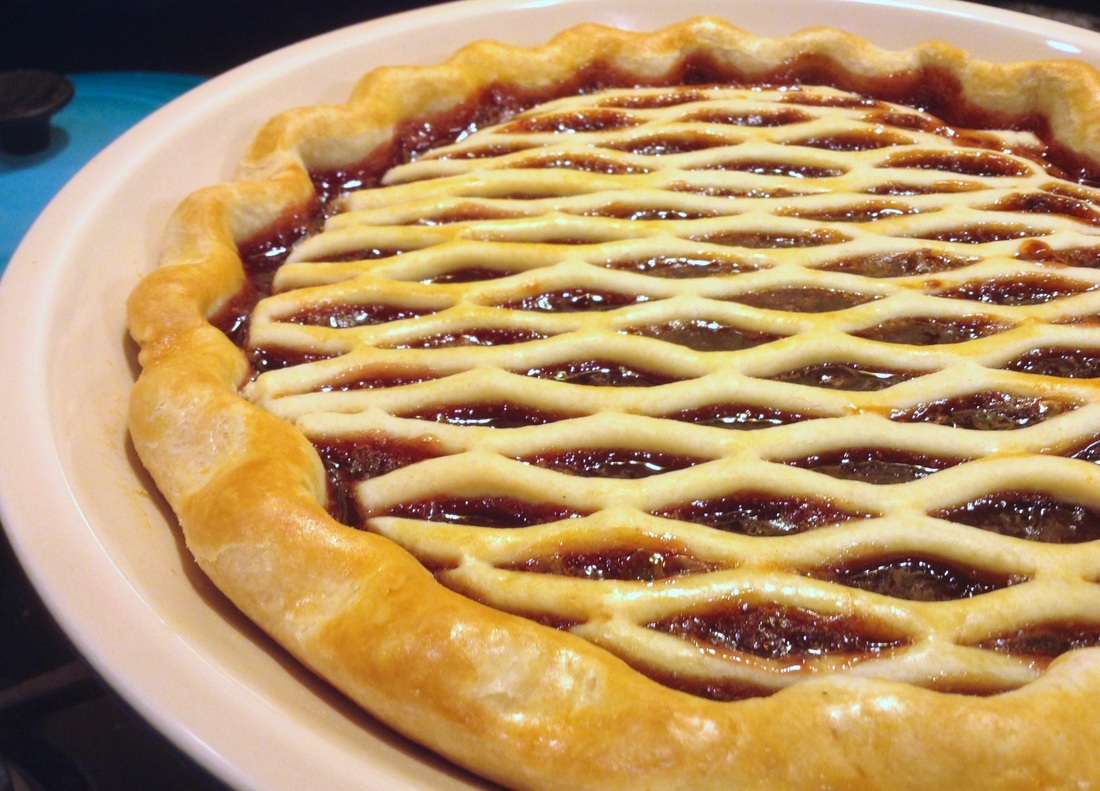
Ready to serve...
Cherry Pie with Lattice Top
Cherry Pie Filling
4 cups Fresh Tart Organic Pitted Cherries
1/2 to 1 cup *Sugar
1 tsp *Almond Extract
1 Tbsp Tapioca Starch
2-3 Tbsp Water
*Add the sugar according to your personal taste. I like to keep it on the tart side and less sweet.
*Add the almond extract after the filling has been removed from the heat and it has started to cool down.
Place the cherries in a heavy saucepan over medium heat. Cover the saucepan. The cherries will begin to release their juices and simmer. Once all the juices have been rendered, allow the cherries to simmer for about 10 to 15 minutes. Stir it often. In a separate bowl combine the tapioca starch and water. Stir this mixture well and add it to the cherries while stirring. The cherries will begin to thicken. Remove the pan from the heat and continue stirring until well combined. Allow the cherry filling to cool while you prepare the crust.
Basic Pie Crust
Yield 1 crust
*You will need 2 crusts for this pie.
1 cup Flour
1 stick Chilled Butter
1 Tbsp Cold Water
Place the flour in the bowl of your mixer. Using the paddle attachment begin mixing the flour on medium-low speed. Dice the chilled butter and begin adding it to the flour as it continues to turn in the bowl. Gradually increase the speed on the mixer, and continue adding the butter until it is all in the bowl. The butter and flour begin to combine into a crumbly texture. Add a bit of the cold water to the mixture as it is turning in the bowl. The mixture will begin to form a loose ball of dough. Shut off the mixer when this happens, and turn the dough out onto a floured work surface. Gather the dough into a ball and wrap the dough in plastic. Place it in the fridge to chill until you're ready to roll it!
Cherry Pie Assembly
Form your bottom crust and place the cooled filling inside.
Roll out the top crust.
Using your handy lattice roller, roll it over the top crust and gently pull apart the perforations. As you pull it apart, the crust will reveal the fancy lattice pattern that we are after! Gently place the lattice over the pie. Trim the excess.
Bake
Bake in a preheated oven at 350 degrees for about an hour.
The pie should be bubbling. I added a bit of egg wash to the pie you see here. It adds a nice golden sheen. However, it is totally optional. Allow the pie to cool completely and serve with a scoop of vanilla ice cream. Enjoy! :)
 RSS Feed